
Last updated November 16, 2026
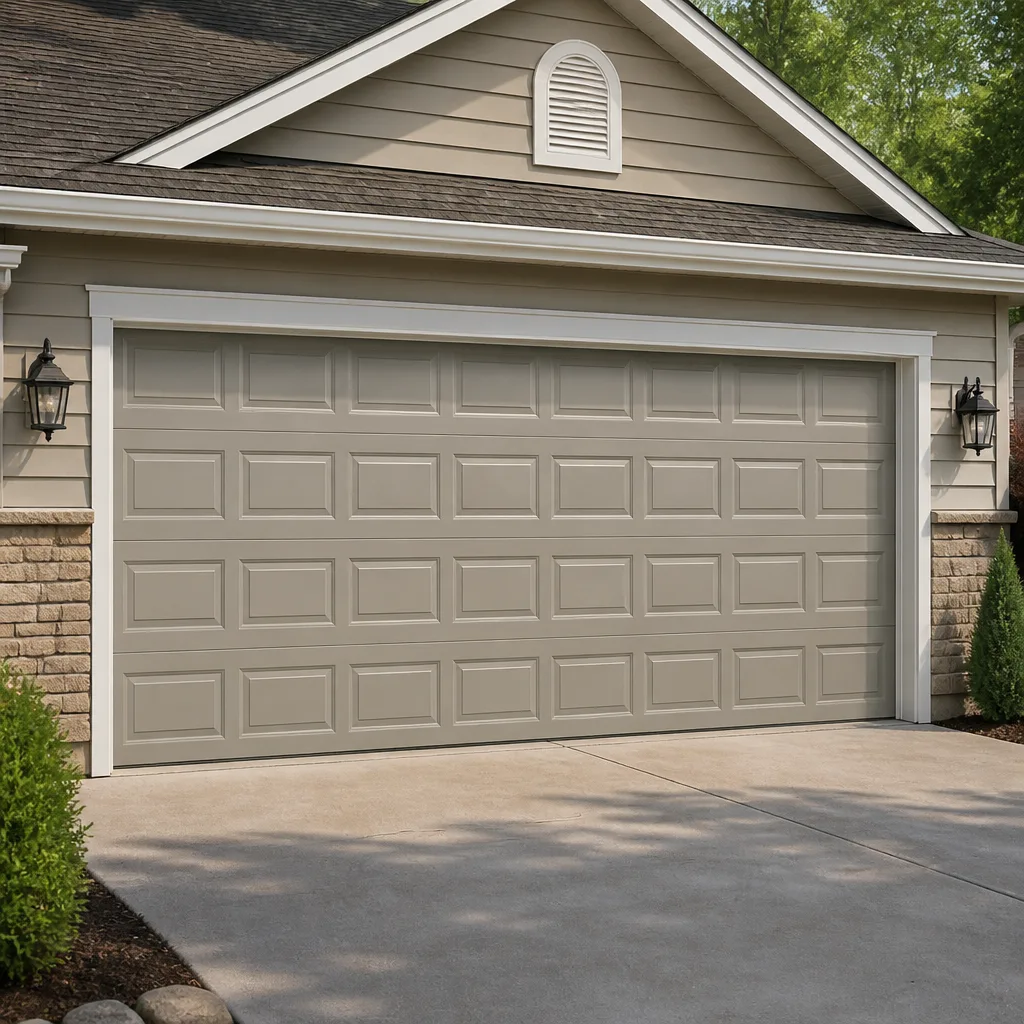 Raised-panel steel
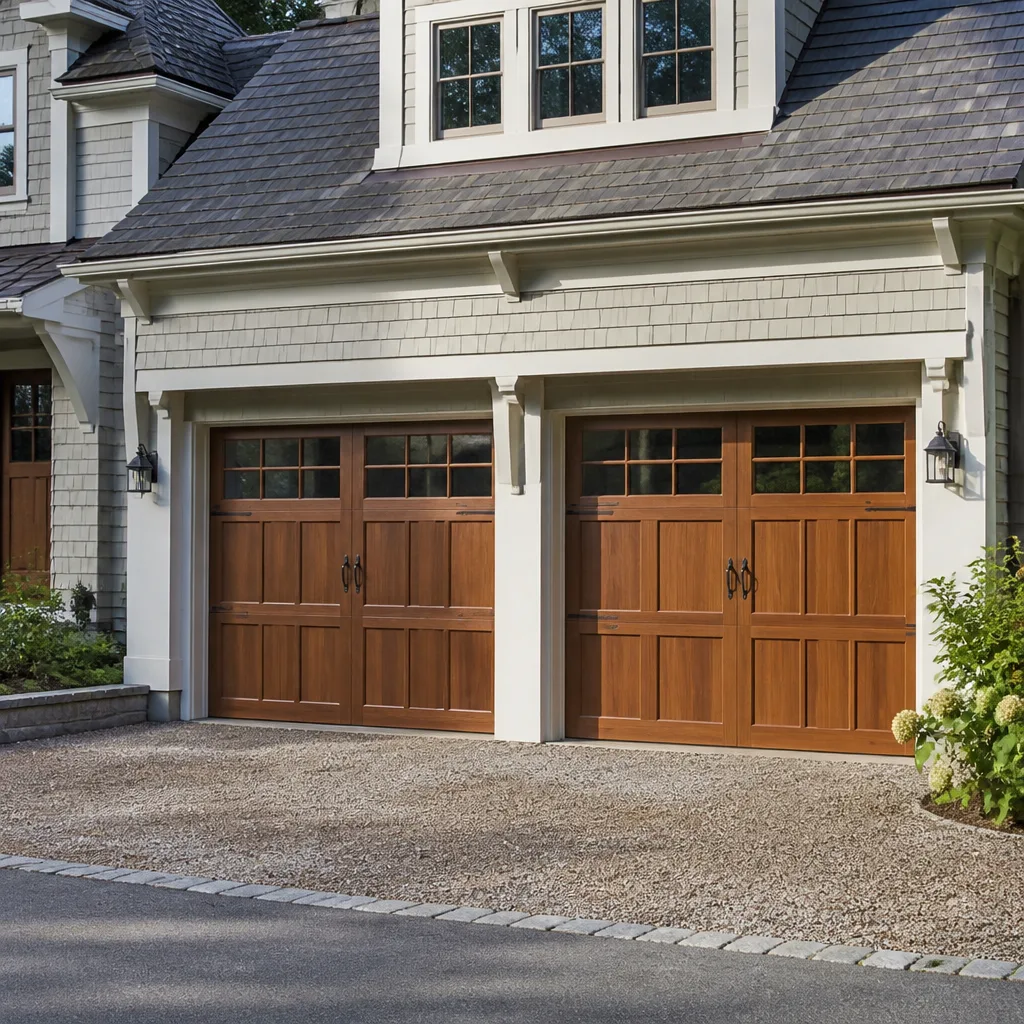 Carriage house
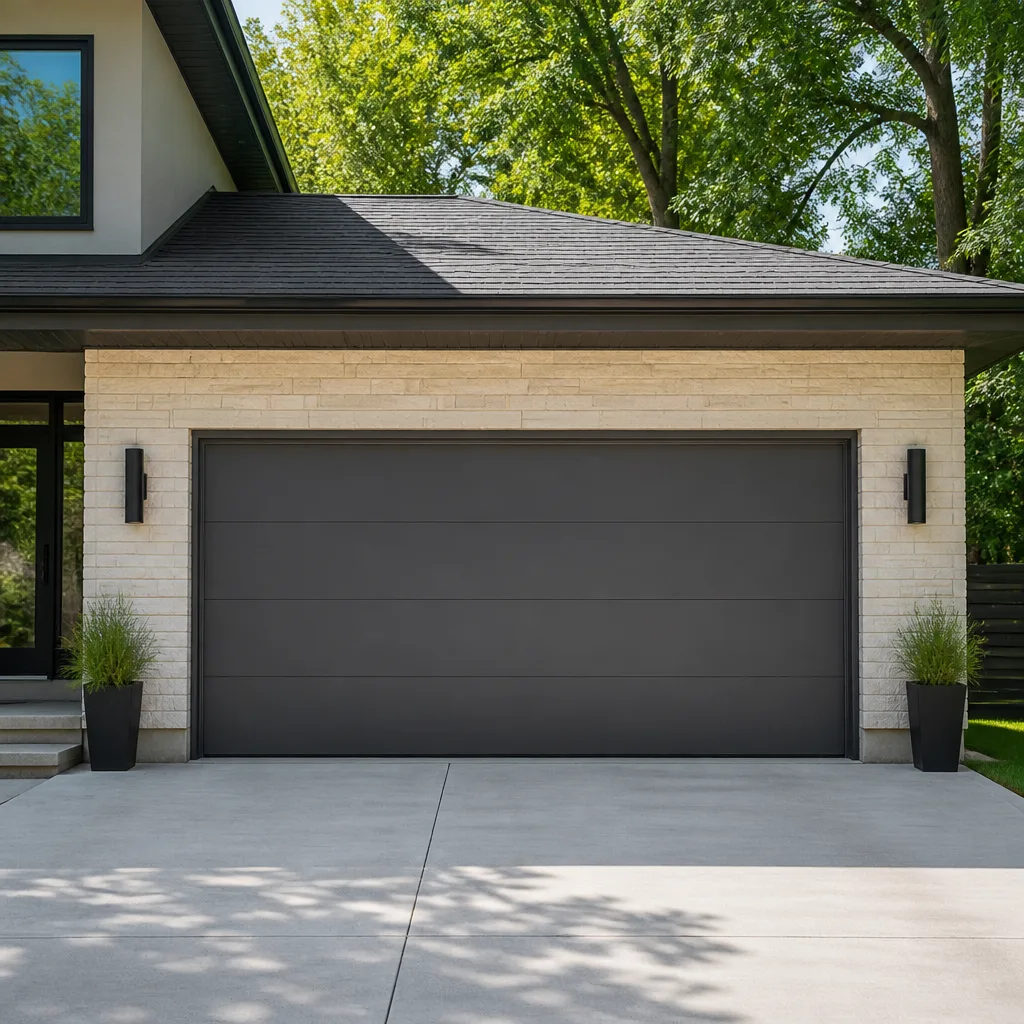 Modern flush
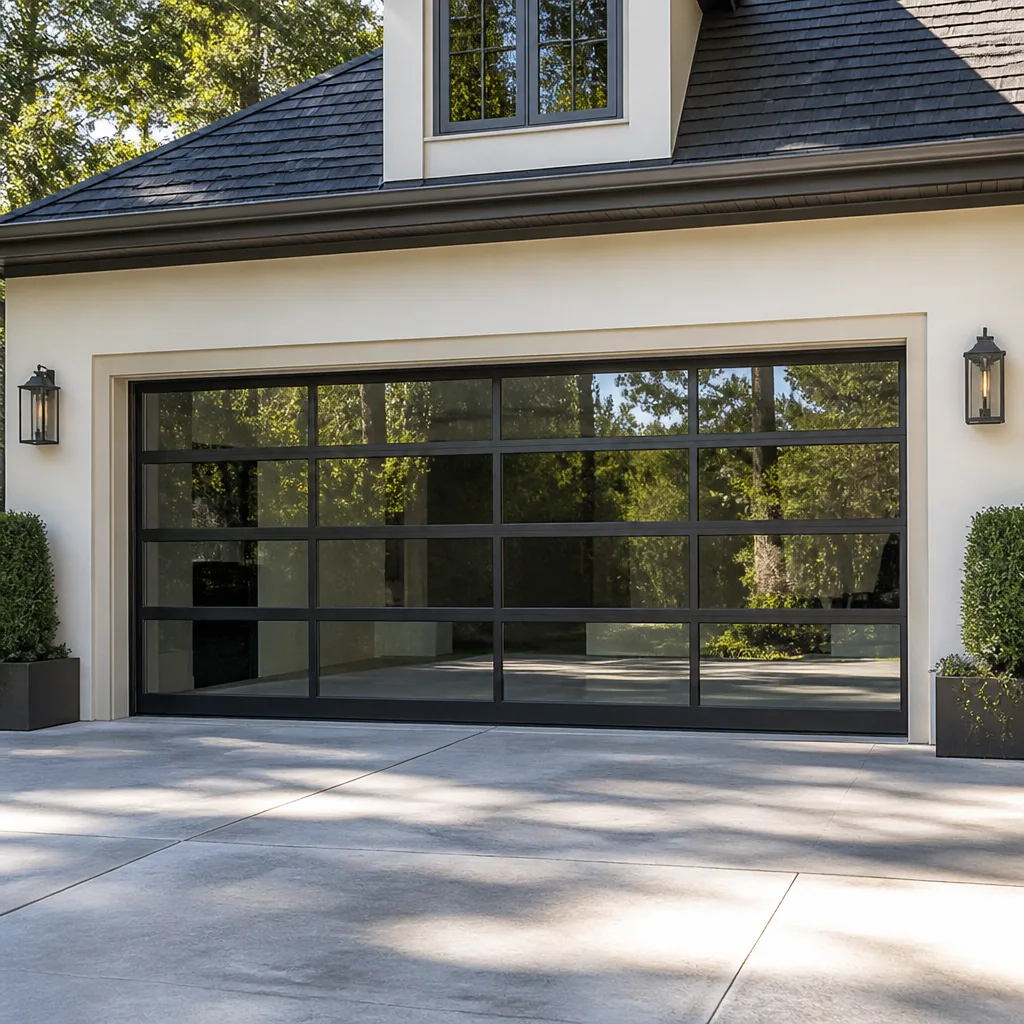 Full-view glass
 LiftMaster openers
 Chamberlain openers
Full 25-point door and opener safety check with every visit - springs, cables, rollers, tracks, and your LiftMaster or Chamberlain opener included
You get a price before we start. It does not change when the pro arrives.
Get your free estimateGarage Door Repair Maintenance Schedule: What to Do and When
Most garage door maintenance advice is built around a calendar, and that’s why people skip it. A quarterly reminder means nothing when you’re standing in the garage looking at a spring you’ve never touched. Here’s the counterintuitive part: the single most skipped task on a garage door, lubricating the torsion spring, is also the one that most directly decides whether that spring lasts 8 years or 14. It takes about 90 seconds and a can of lithium grease, and almost no homeowner does it. In Gresham, the real maintenance rhythm isn’t quarterly, it’s tied to what the weather is about to do to your door: wet winters, then a warm, damp spring that finds every gap in a seal. This guide covers the schedule that actually matches our climate, the correct lubrication map, a 10-second balance test, and why a 5-year-old door and a 15-year-old door shouldn’t get the same checklist.
Quick Answer
Maintain your garage door on a weather-driven schedule, not a quarterly one: each September, before the rains, check the bottom seal, track gaps, and cables; each March, after winter, check panels for moisture damage and delamination; lubricate the torsion spring, hinges, and rollers twice a year; and run a balance test every few months to catch weakening springs before they fail. A door under 10 years old mostly needs lubrication and inspection; a door over 10 years old needs closer attention to springs, cables, and hardware replacement.
Styles & brands we work with
- Raised-panel steel
- Carriage house
- Modern flush
- Full-view glass
- LiftMaster openers
- Chamberlain openers
Table of Contents
- Why a Calendar-Based Schedule Misses the Point
- The September Pre-Rainy-Season Checklist
- The March Post-Winter Check
- The Correct Lubrication Map
- The 10-Second Balance Test
- What a 5-Year-Old Door Needs vs. a 15-Year-Old Door
- Opener Maintenance: What Matters and What Doesn’t
- The Quick Monthly Routine
Why a Calendar-Based Schedule Misses the Point
A garage door doesn’t wear out on a schedule. It wears out on a set of physical stresses, and in Gresham those stresses cluster around two weather transitions: the move into the wet season, and the move out of it. A door in a dry climate deals with dust and heat. A door here deals with moisture that swells wood panels, seeps into track gaps, and works on steel cables. That’s a different maintenance problem entirely.
The calendar approach, the “check your door every three months” advice you’ll find on most manufacturer sites, doesn’t tell you what to check or why. You end up walking around the door, eyeing it, and going back inside. No real inspection happened. Tying the inspection to what the weather is doing gives you a reason to look, and a specific list of things to look for.
The other reason the seasonal approach works better: it catches problems at the point where they’re cheapest to fix. A bottom seal with a small gap in September is an inexpensive replacement. That same gap in February has let water into the track, rusted a roller, and started a panel delaminating. The maintenance rhythm is really a timing strategy.
Here in Gresham we see doors on the older housing stock east of downtown showing winter moisture damage sooner than newer construction, mostly because the seals and hardware are older, not because the doors are worse. The schedule is the same; the age of the components just raises the stakes on each check.
The September Pre-Rainy-Season Checklist
September is the most important maintenance window of the year in Gresham. The dry months are ending, and whatever you don’t fix now will be fixed by water over the next six months. Work through this list from the bottom of the door upward.
- Inspect the bottom seal along its full width. Get down at floor level with a flashlight and look for cracks, flattening, and sections where the rubber has pulled away from the aluminum retainer. The seal is the door’s first defense against water running under it, and a seal that’s torn or hardened lets water into the track and onto the floor.
- Measure the gap at the base. With the door closed, slide a coin or a thin piece of card stock under the seal at several points along the width. If it passes easily at any point, the seal is either worn or the door is out of adjustment. The gap should be tight enough to block wind-driven rain.
- Check the cables for corrosion. Look at both cables where they run down the sides of the door and where they attach at the bottom corners. Portland-area humidity, and Gresham gets plenty of it, is hard on bare cable. You’re looking for rust, fraying, or a cable that’s starting to separate strand by strand. A frayed cable is a safety issue, so don’t ignore it. Call a technician rather than trying to loosen or replace it yourself; cables are under extreme tension and can cause serious injury.
- Clear the tracks and check for gaps. Look down the length of each track for debris, and check that the track hasn’t pulled away from the door frame. A visible gap between track and frame means the fasteners have loosened, and that misalignment will grind your rollers all winter.
- Look at the weatherstripping around the door frame. The trim seal that runs down the sides and across the top takes a beating in the wet season. If it’s cracked or peeling, water can get behind it and into the frame.
- Lubricate the spring, hinges, and rollers. Do this before the wet season, not after. Details are in the lubrication section below.
If you find problems you can’t sort out yourself, a garage door repair visit before the rains hit is a lot cheaper than the same visit in January. Getting ahead of the wet season on door maintenance in Gresham is the single most cost-effective thing you can do all year.
The March Post-Winter Check
By March, your door has spent months being wet, drying out, and getting wet again. The March check is about catching damage the winter already did, particularly to wood and composite panels. This is where a small drip becomes a warped door.
Here’s what we look for, in the order that matters:
- Delamination on the bottom panel. On a Clopay or Amarr door with a wood or composite face, look along the bottom edge and the corners of the lowest panel for the outer skin starting to separate from the core. You’ll see it as a bubbling or a thin line where the layers are pulling apart, and the panel may feel soft if you press it. That’s absorbed moisture. The bottom panel takes the most spray from the roof and the most splash from the driveway, so it shows problems first.
- Warping at the frame. A panel that has taken on moisture and begun to swell can push against the door frame or start to bow. If the door is tighter in its opening than it was in the fall, or the bottom corners are catching, look up the sides of the door for a panel that’s no longer flat.
- Paint and finish bubbling. Paint that’s blistering on a panel face is moisture pushing from behind. If you see that, don’t just repaint over it; find out where the water’s getting in.
- Hardware rust. Check hinges, roller brackets, and the bottom brackets for rust starting to form. Surface rust on a hinge means water is sitting there, and that hinge is on its way to seizing.
- Seal condition again. The seal you checked in September has been through a winter of water. Look for it pulling away from the retainer or flattening further.
Delamination caught in March can often be addressed before it becomes a structural problem for the panel and the door frame. Caught in July, it’s a replacement panel. That timing difference matters. Most Gresham homeowners we talk to haven’t looked at the bottom edge of their door in years, and it’s the one place the winter does the most visible damage.
The Correct Lubrication Map
Lubrication is the highest-value, lowest-effort maintenance task on a garage door, and it’s also where homeowners get it wrong most often. The rule of thumb: lubricate the pivot points and the spring. Never lubricate the tracks. Steel rollers on steel tracks need a clean, dry surface.
What gets lubricated
- The torsion spring. This is the one everyone skips. A light coat of white lithium grease on the spring coils, worked in as the door cycles, reduces friction between the coils and makes the spring last longer. This is the 90-second task from the top of this guide. For most doors, a can of lithium grease applied to the spring once every six months is enough. Use a lithium-based grease on the spring, not WD-40 or silicone spray; the spring needs a heavier coating that stays put.
- Hinge pivot points. Each hinge has a pivot pin. A drop of light oil or a small amount of lithium grease at each hinge joint keeps the hinge moving freely. There are usually three to five hinges per side, depending on door height.
- Roller stems. The business end of each roller has a stem that sits in the hinge or bracket. Lubricate the stem, not the roller wheel.
- Track rollers at the bottom and top brackets. These get more load than the middle rollers and benefit from a little attention.
- Lock and opener chain or belt. If you have a manual lock, a small amount of graphite or light oil in the lock. On a Chamberlain or Genie opener with a chain or belt drive, check the manufacturer’s manual for the recommended lubrication, since some belts are designed to run dry.
What does not get lubricated
- The tracks. Never grease or oil the vertical or horizontal tracks. Lubricant on the track attracts dust and grit, which then gets ground into the rollers. Clean tracks with a dry rag. A door that’s been greased on the tracks will often run noisier after a few weeks than it did before.
- Nylon rollers. Nylon or plastic rollers don’t need lubrication and can be damaged by grease. Steel rollers benefit from stem lubrication; the wheel itself is usually best left alone.
For a Wayne Dalton door with the TorqueMaster spring system, the spring is enclosed in a tube, so there’s no visible spring to lubricate. The hinges and roller stems still get the treatment; the spring inside the tube is largely protected and gets its care via a technician inspection. For Clopay and Amarr doors, the springs are exposed like most conventional torsion setups and benefit from the same twice-yearly grease. On the opener side, whatever brand you have, the hardware under the door is where lubrication pays off.
If you’re not sure whether your door has torsion springs or extension springs, that’s the first thing to identify before you touch anything. Torsion springs are mounted on a shaft above the door; extension springs run along the top tracks and are under heavy tension. Don’t try to adjust or disassemble either one yourself, because both can cause serious injury if they’re under load. Lubrication is safe; adjustment and replacement are a technician’s job.
The 10-Second Balance Test
This is the single most useful thing a homeowner can do to their garage door, and it takes about 10 seconds. It tells you whether your springs are getting weak months before anything visibly fails.
- Disconnect the opener. Pull the red release handle on the opener carriage so the door is in manual mode. Do this with the door closed and the spring relaxed.
- Lift the door to about halfway. Bring it up by the handle to roughly waist height and stop.
- Let go and watch. A properly balanced door stays where you put it, or drifts very slowly. A door that falls several inches or drops all the way down has a spring or tension problem. A door that wants to rise on its own from the halfway point has too much tension or a binding issue.
- Reconnect the opener. Push the door up to the carriage and reconnect the release.
Do this every few months, and do it in both directions, meaning: check it starting from the closed position, and check it starting from the open position. The balance test catches a weakening spring long before the door fails to lift, and a spring that’s losing tension is one that’s heading toward a break. A door that fails the balance test isn’t dangerous to test, but it may be dangerous to use, so call a technician rather than continuing to cycle it. Springs are under extreme tension, and a snapped spring can cause serious injury and send hardware across the garage. This is not a component to work on yourself.
Another early warning: if you notice the door running slowly, jerking, or making a grinding noise, that’s a sign of spring or roller stress. The balance test distinguishes between a spring losing tension and a bent track or a seized roller.
What a 5-Year-Old Door Needs vs. a 15-Year-Old Door
Treating every door the same wastes money in one direction and misses real problems in the other. The maintenance schedule should shift as the door ages, and this is where a lot of generic advice falls down.
A 5-year-old door
A door this new is in its prime. The spring, cables, rollers, and seal are all relatively fresh. Maintenance for a 5-year-old door is mostly lubrication and inspection:
- Twice-yearly spring and hinge lubrication.
- September and March seal and track checks.
- The balance test every few months to catch anything unusual.
- Watch for one specific thing: a garage door that gets a lot of sun or a lot of moisture can begin showing panel edge issues earlier than you’d expect. Check the bottom panel edges at least once a year even on a new door.
On a 5-year-old door, a technician visit is usually about confirming that things are healthy, not fixing. Spending heavily on a door this age is usually unnecessary. If a technician wants to replace a spring on a 5-year-old door that’s passed the balance test, get a second opinion.
A 15-year-old door
A 15-year-old door is where the components start reaching the end of their life together. The spring is the big one; a well-maintained spring can last 10 to 15 years, but an unmaintained one often fails sooner. Cables, rollers, and hinges are also likely to be original and showing wear. The maintenance list for a 15-year-old door expands:
- Balance test every few months, and take any failure seriously.
- An annual inspection of the spring, cables, and hardware, ideally in the fall before the wet season.
- Closer attention to the bottom panel, since older doors often have more moisture-related wear there.
- Replace hinges and rollers that have developed significant rust or play, rather than waiting for a grinding door.
On a 15-year-old door, a careful decision between repair and replacement is worthwhile. A door that passes the balance test and has sound panels can often be kept running with new hardware and a fresh spring for years. A door with delaminating panels on multiple sides, or a bent track that’s already been straightened once, is a candidate for replacement rather than repair. We’ll give you a straight answer on which side of that line your door is on, because a repair on a door that’s past its life just moves the cost to next year.
Opener Maintenance: What Matters and What Doesn’t
Most opener maintenance is a once-a-year look, but a few things are worth checking more often. Whether it’s a LiftMaster or a Genie unit, the principles are similar.
- The safety reverse test. Put a small object (a roller, a piece of wood) in the door’s path and close it. The door should reverse on contact. If it doesn’t, stop using the door and get it checked. This test should be done once a month; on a newer Chamberlain unit with a safety beam, also test the beam by blocking it with your foot while the door is closing.
- The manual release. The emergency release handle should pull freely. If it’s stiff or stuck, the carriage is likely binding, and that will only get worse.
- The opener rail and chain or belt. Check the chain or belt for excessive slack. A chain that’s too loose will slap and jump the sprocket. Follow the manual for adjustment, since too tight is just as bad as too loose.
- Battery backup. Many openers have a backup battery that stops holding a charge after a few years. Test it once a year by cutting power to the opener and running the door. If it doesn’t lift on battery, the battery’s due.
If your opener is a Craftsman or a Chamberlain and it’s reprogramming remotes or losing its travel limits, that’s usually a logic board or limit switch issue rather than a maintenance problem. A garage door opener repair call on the actual make and model is faster than guessing at generic troubleshooting steps, because different brands have different reset procedures and different known failure points. And if you’ve got a door that’s starting to fail because the opener is straining to lift it, that’s a door problem showing up as an opener problem. We diagnose the whole system, door and opener together, rather than treating them as two separate jobs.
The Quick Monthly Routine
Here’s the short version, the routine that runs in the background between the seasonal checks:
- Run the safety reverse test. Monthly, every month.
- Look at your door from outside. Stand on the driveway and look at the door with the light behind it. Sunlight coming through a gap tells you the seal or panel has moved.
- Listen. A door that’s started squeaking, grinding, or sounding different from last month is telling you something changed.
- Test the balance every few months. The 10-second check described above.
- Lubricate spring, hinges, and rollers every six months. Once in September, once in March, works well in our climate.
For the seasonal checks themselves, the two big ones are the September pre-wet-season inspection and the March post-winter inspection. Those are the two moments in Gresham’s year when your door goes through the biggest change, and they’re the two to plan around. Our technicians have up to 12 years of experience diagnosing specifically garage doors, which means we can tell the difference between a door that’s aging normally and one that’s heading for a problem. When you call Sycamore Garage Door Repair, you get one company that handles the door and the opener together, which keeps the diagnosis clean and the repair decisions in one place.
Common Mistakes to Avoid
- Greasing the tracks. It seems logical, and it’s wrong. Grease on the tracks collects grit and turns your rollers into grinding wheels. Keep the tracks dry and clean them with a dry cloth, not a lubricant.
- Ignoring the bottom seal. The bottom seal is the least glamorous part of your door and the first line against water. A cracked or hardened seal lets water into the track and under the door all winter. This is the single most overlooked seal in a Gresham garage.
- Spraying the spring with regular oil. A quick spritz of WD-40 isn’t spring lubrication; the spring needs a heavier lithium-based grease that stays put through the door’s cycles. The lighter products wear off within weeks.
- Assuming the door “just needs a new opener” when the door is heavy. When a door starts to fail, the opener gets blamed first. A strained opener is often a symptom of a weak spring or a binding track. Replacing the opener won’t fix a door that’s fighting its own springs, and the new opener will burn out the same way.
- Waiting until something breaks to inspect. The balance test and the seasonal checks are all about catching problems in the early, cheaper stage. A monthly reminder to look at your door saves you from the version of the problem that happens in February.
- Assuming a 15-year-old door needs the same maintenance as a 5-year-old one. Treating them the same wastes money on the new door and misses worn hardware on the old one. Match the schedule to the age of the components.
- Trying to adjust springs or cables yourself. This is the one that can seriously hurt you. Springs and cables are under extreme tension; adjustment and replacement are a professional job. Stick to inspection and lubrication.
See the difference
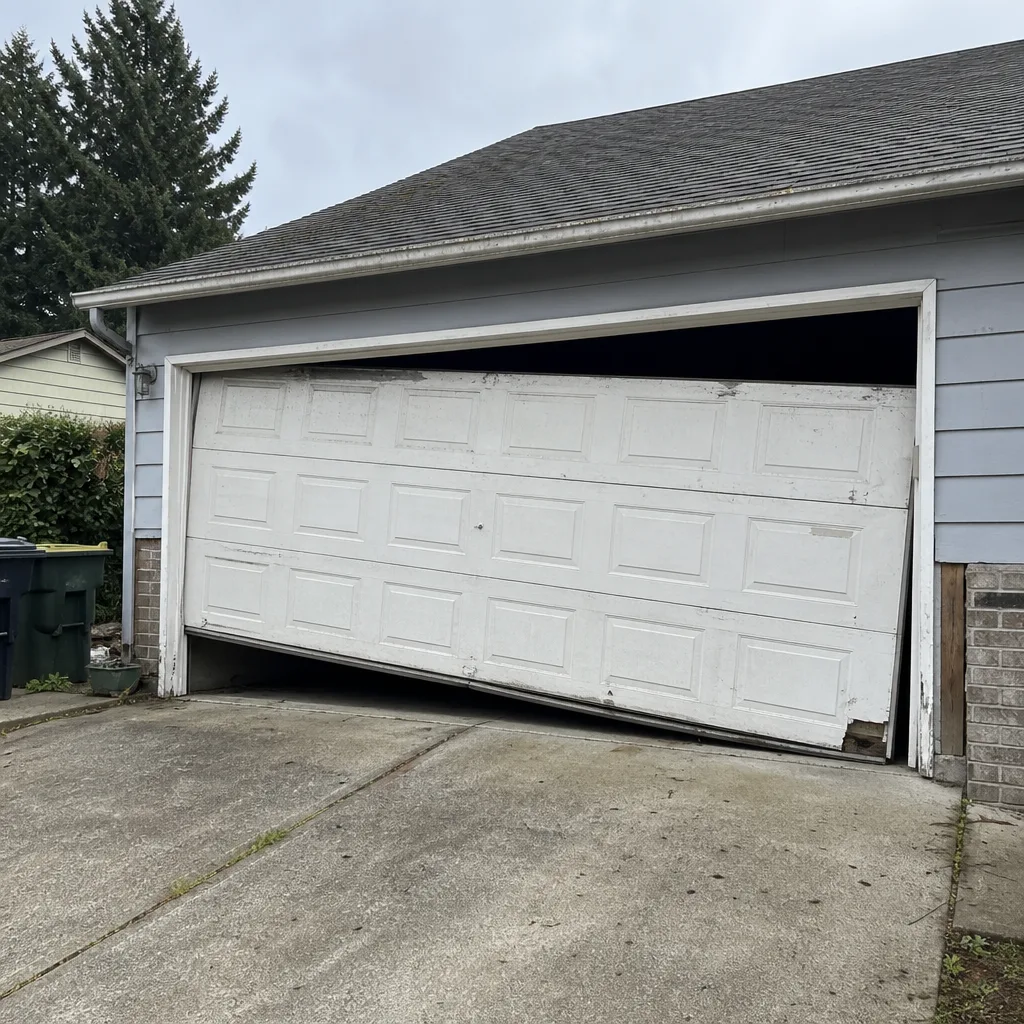 Before
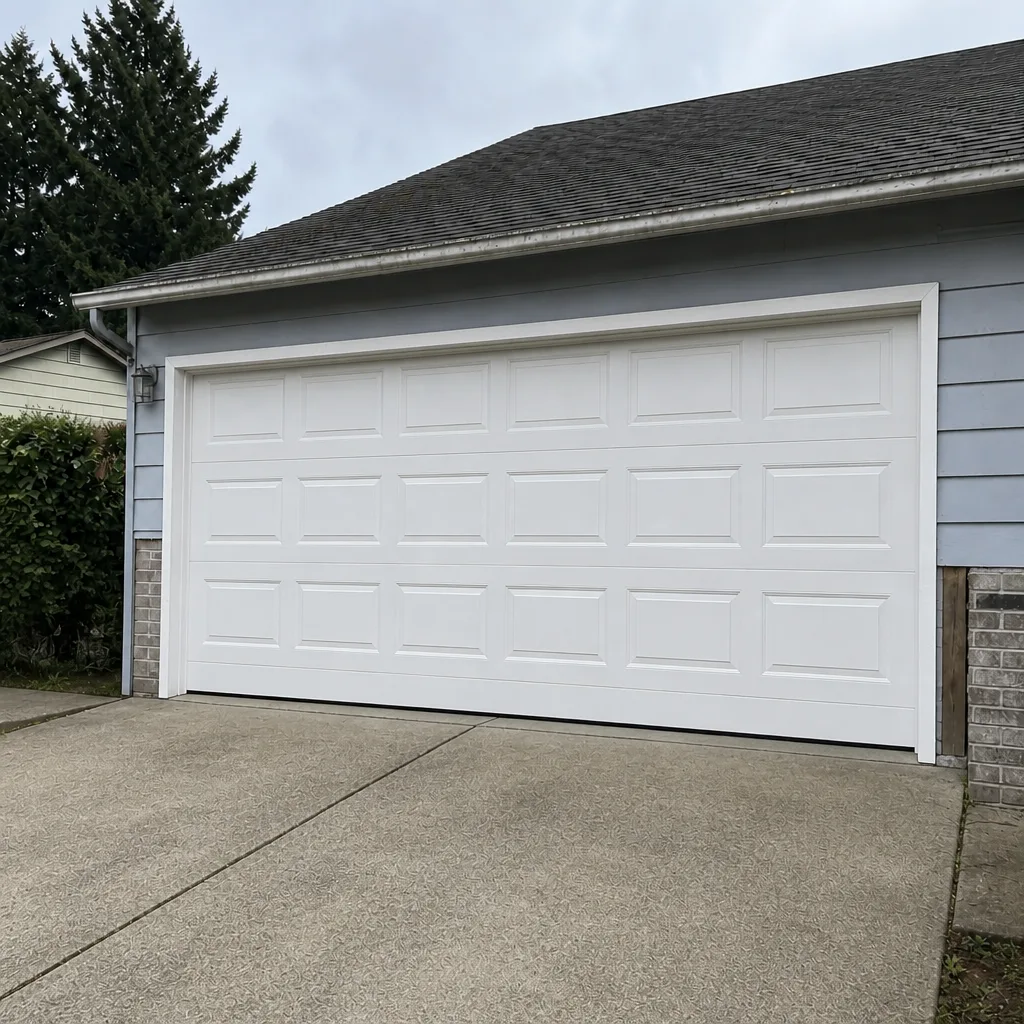 After
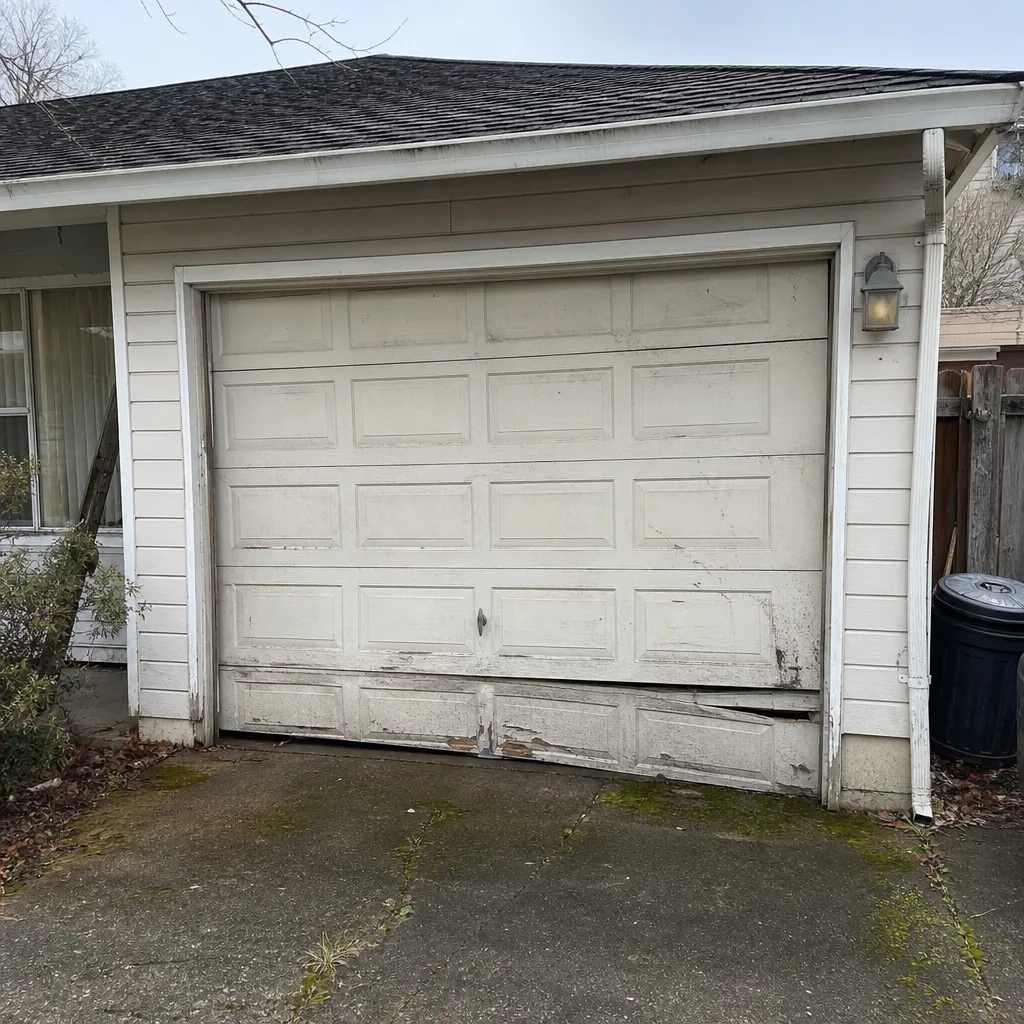 Before
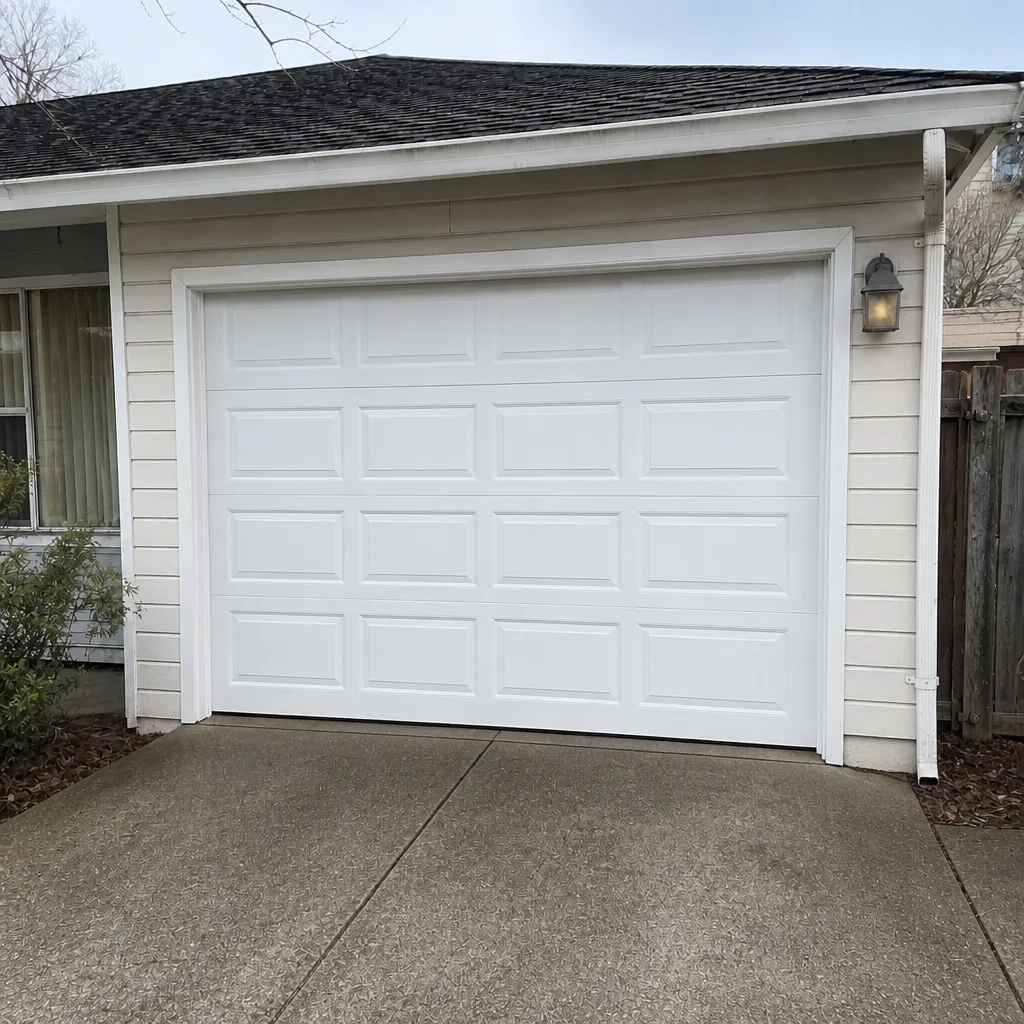 After
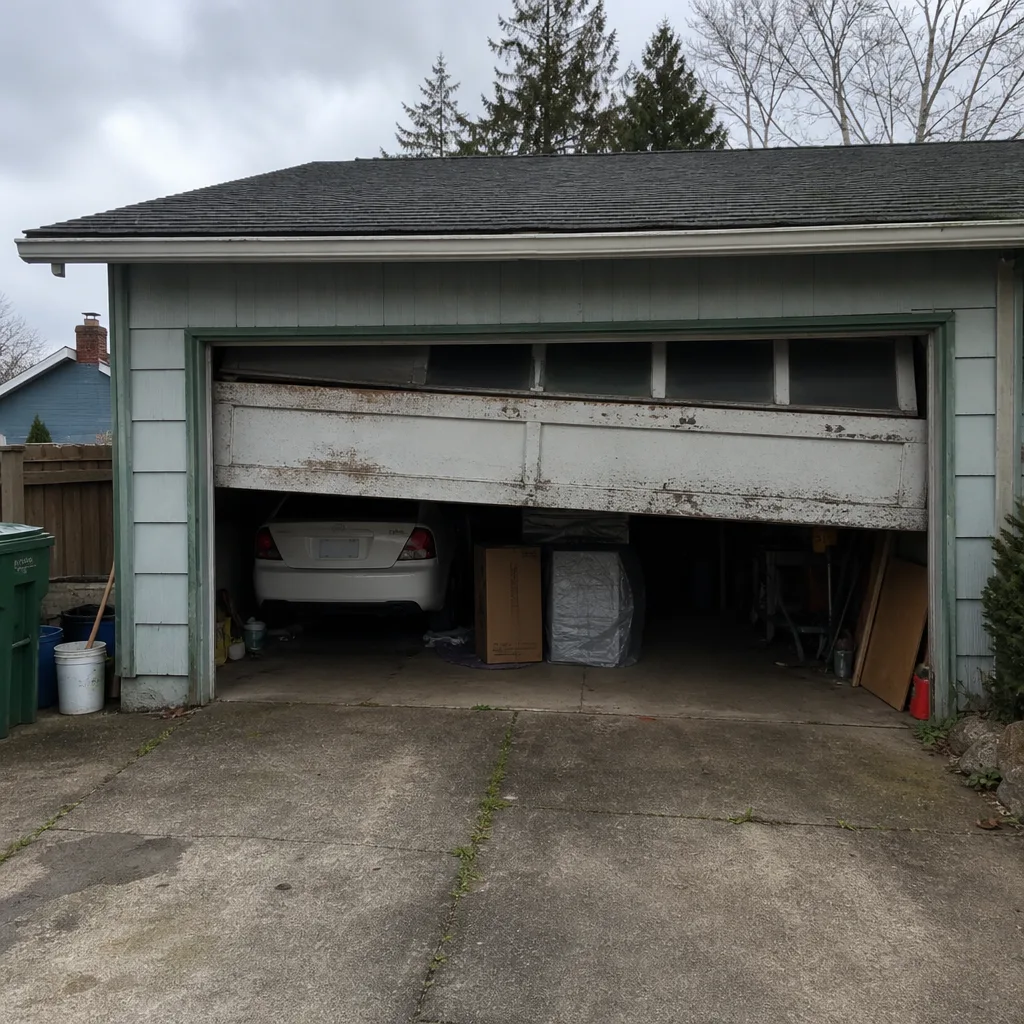 Before
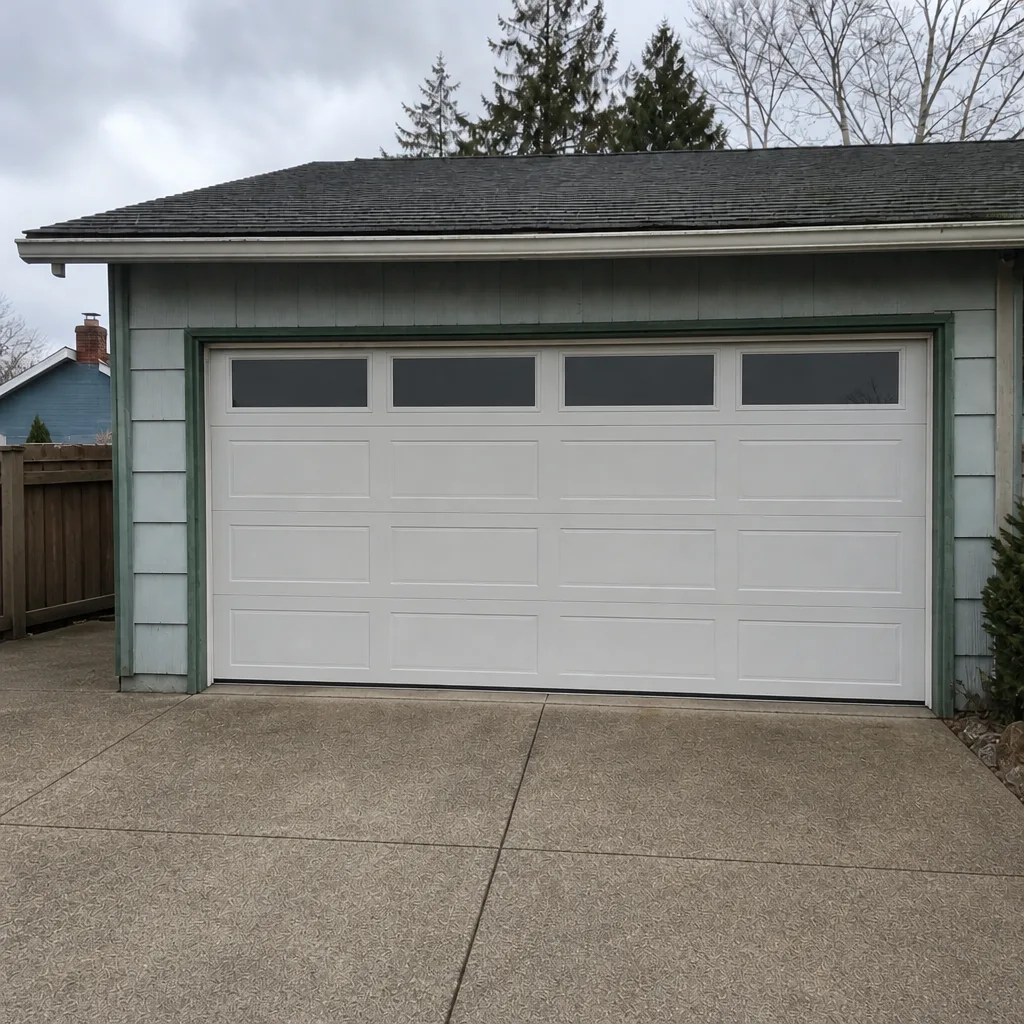 After
When to Call a Professional
Some jobs are for a technician, and it’s better to call before they get worse. Call us if you see a frayed or rusted cable; that’s a safety issue, not a maintenance item. Call if the door fails the balance test, because a weakening spring will eventually fail completely and you want that addressed before it does. Call if the door comes off its tracks, moves unevenly, or is making grinding noises. Call if you find delamination spreading across more than one panel edge, since that’s a sign the door’s structure is compromised. And call if the opener fails its safety reverse test, because that one protects whatever is under the door.
Sycamore Garage Door Repair offers free estimates in Gresham. Call (866) 890-0843 to schedule one. We answer 24/7, and fast dispatch from 7am to 7pm keeps same-day repair possible when the problem is urgent. The price is quoted and agreed before any work starts, and you’ll know what we found and what it takes to fix it before we pick up a tool.
Frequently Asked Questions
Twice a year is the right rhythm, once in September before the wet season and once in March after winter. Use a lithium-based grease on the spring coils, not a light oil, and apply it to the coils rather than the shaft.
The bottom seal inspection is the highest priority before the rains. Check the seal along its full width for cracks, flattening, and any gap at floor level, since that’s where winter water gets in. A seal in poor shape is a cheap fix in September and a more involved repair once the water has been at the track for months.
No. Tracks should stay clean and dry. Lubricant on the tracks attracts grit and wears out the rollers faster. Clean them with a dry rag and leave them unlubricated.
The balance test is the fastest way to know. Disconnect the opener, lift the door to about halfway, and let go. A balanced door stays put; one that drops has a weakening spring. Also listen for a change in how the door sounds and watch for slow or jerky movement. If the door fails the balance test, call a technician rather than continuing to cycle it.
They need maintenance on a schedule. A spring that gets lubricated twice a year generally lasts longer than one that’s never touched, and the balance test catches a weakening spring long before it breaks. Waiting for a break means waiting for the failure, which is the most disruptive version.
Sycamore Garage Door Repair covers door repair, opener repair, and installation for all eight major brands, including Clopay, Amarr, Chamberlain, and Genie. Call (866) 890-0843 for a free estimate. We answer 24/7, and fast dispatch from 7am to 7pm means same-day repair is often possible. Our technicians have up to 12 years of experience, and every price is written down and agreed before any work begins.
The Bottom Line
Your garage door’s maintenance schedule isn’t a calendar problem; it’s a weather problem. In Gresham, that means a September pre-wet-season check of the bottom seal, track gaps, and cables; a March post-winter check for delamination and moisture wear; twice-yearly spring and hardware lubrication; and a quick balance test every few months. If your door is under 10 years old, the schedule is mostly lubrication and inspection. If it’s older, the schedule expands to include the spring, cables, and hardware, with an eye toward the repair-versus-replace decision. Skip the generic quarterly reminder and run the schedule that matches what your door is actually going through.
Call (866) 890-0843 for a free estimate. We answer 24/7. Fast dispatch from 7am to 7pm, Sunday through Friday.
Written by the team at Sycamore Garage Door Repair.