
Last updated November 16, 2026
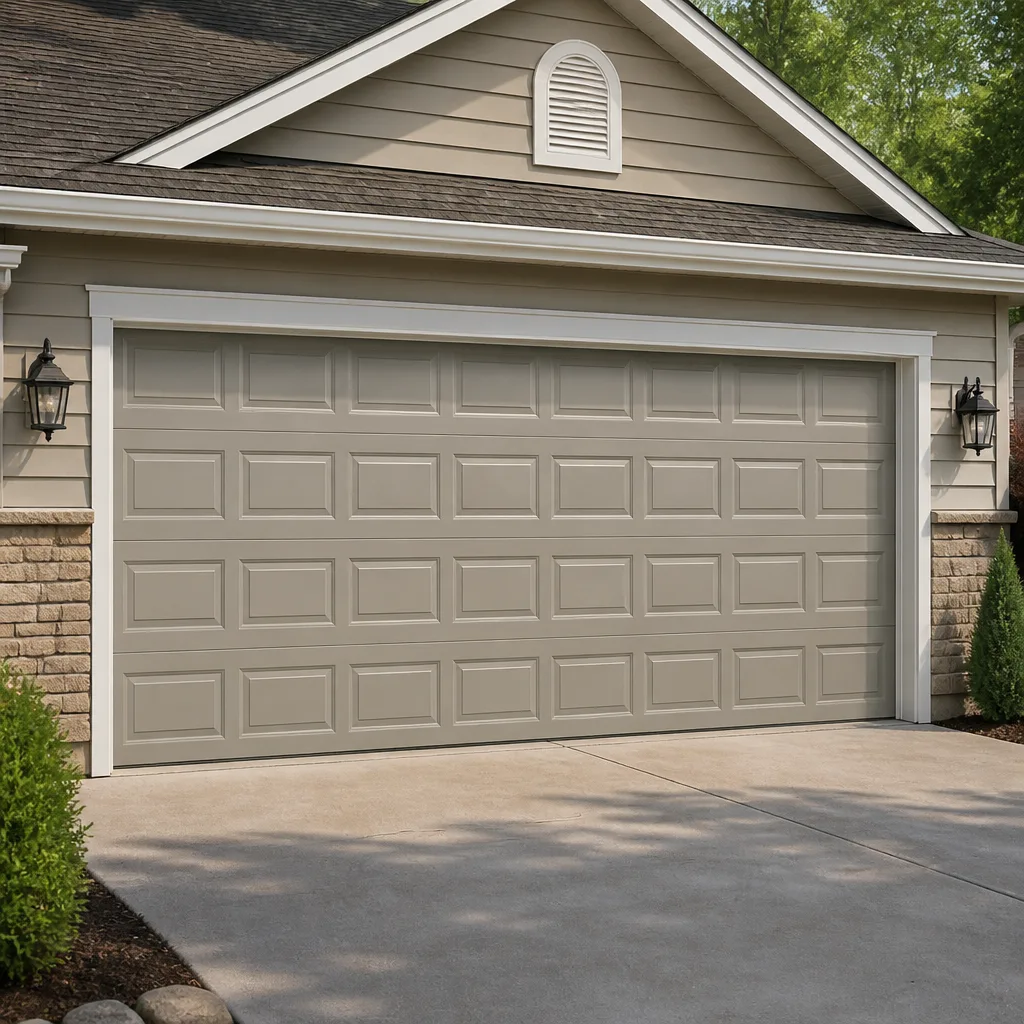 Raised-panel steel
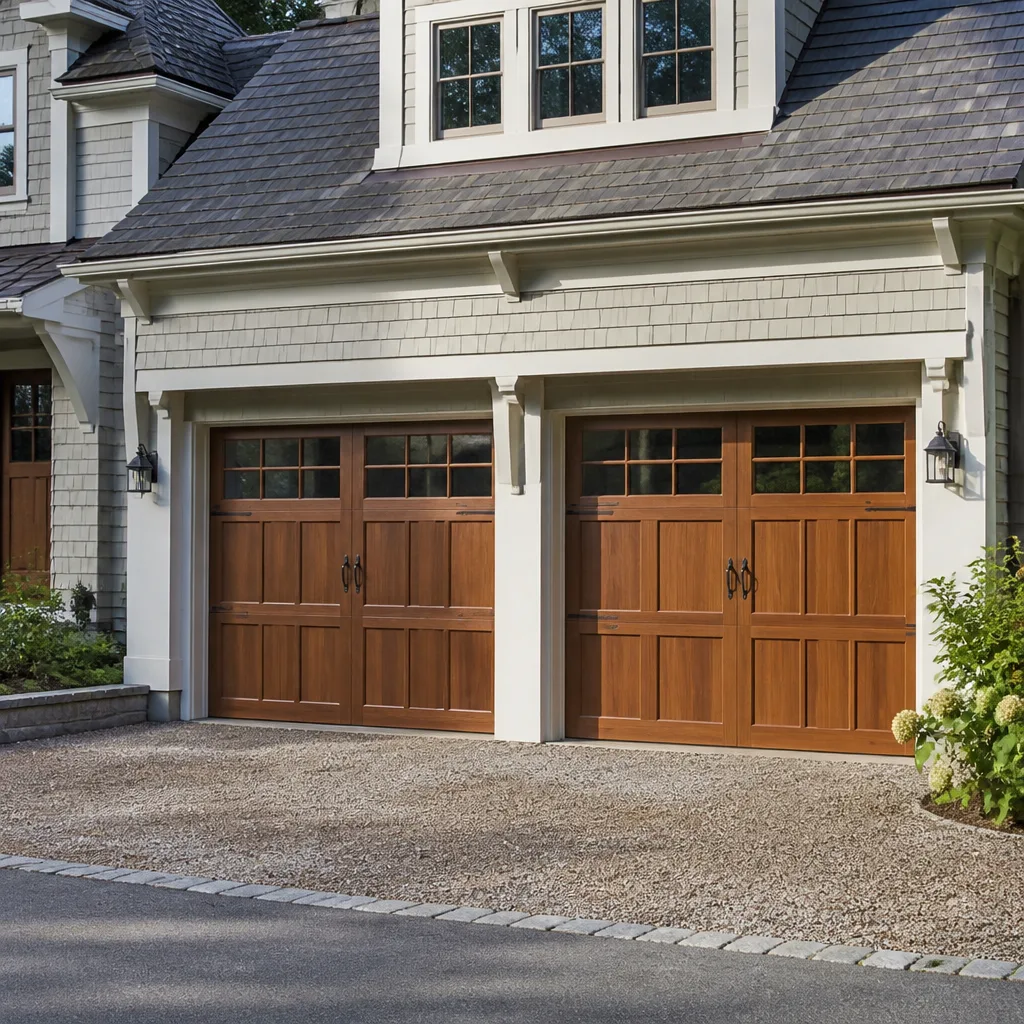 Carriage house
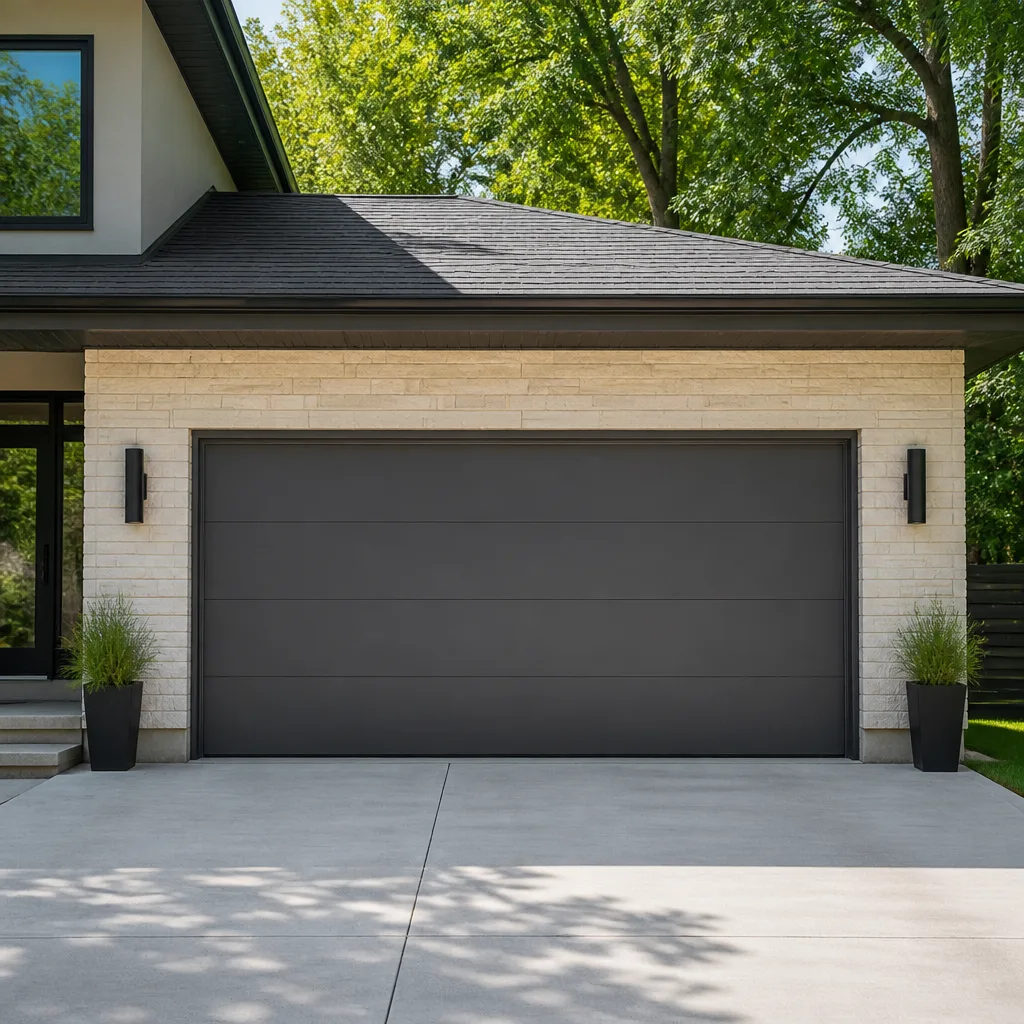 Modern flush
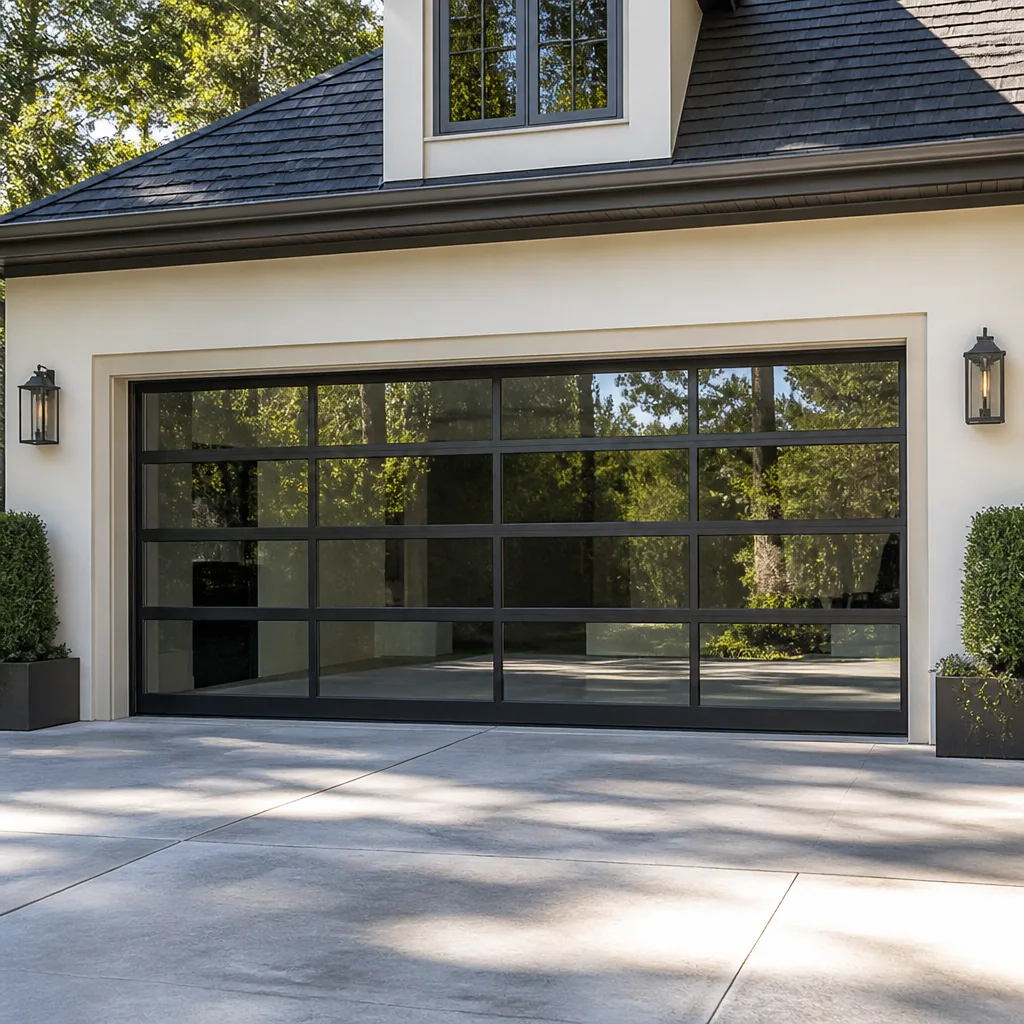 Full-view glass
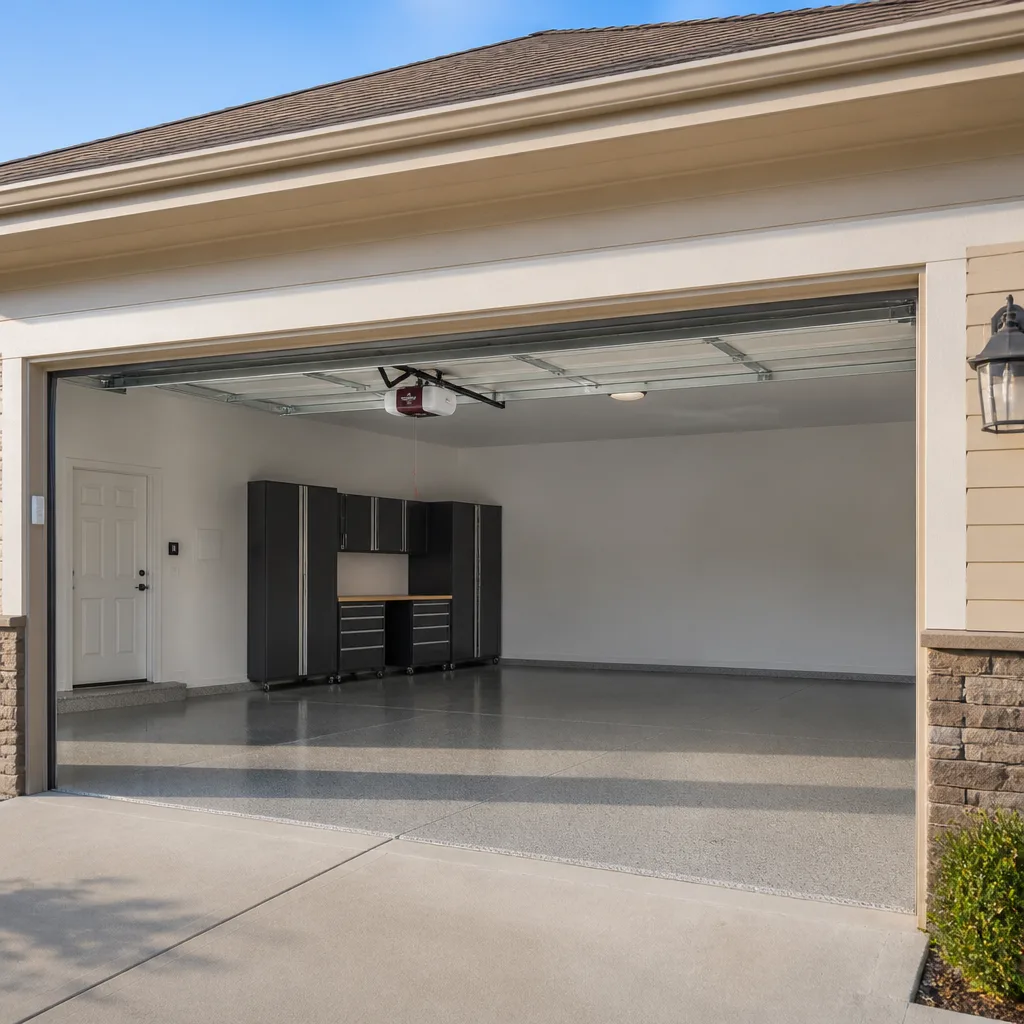 LiftMaster openers
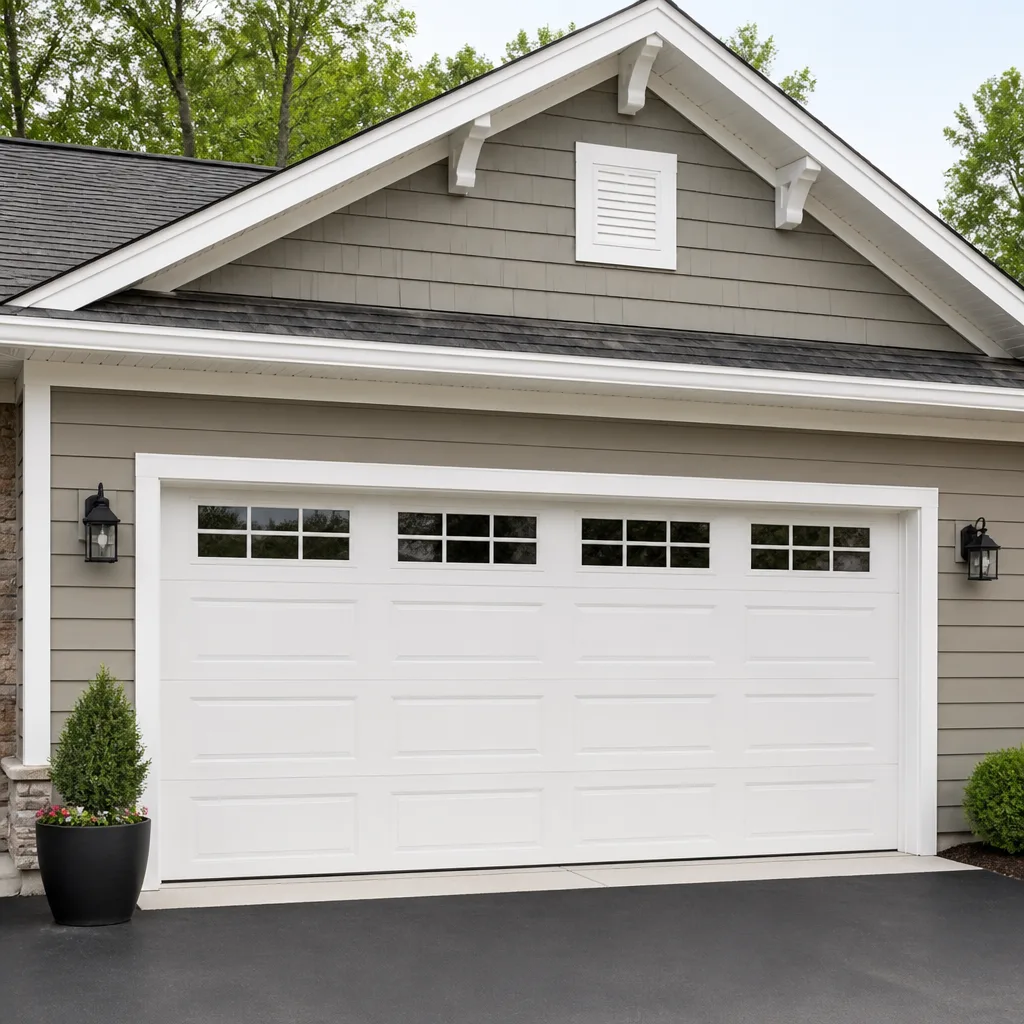 Chamberlain openers
Full 25-point door and opener safety check with every visit - springs, cables, rollers, tracks, and your LiftMaster or Chamberlain opener included
You get a price before we start. It does not change when the pro arrives.
Get your free estimateGarage Door Repair Troubleshooting in Gresham: Common Problems and How to Fix Them
A garage door that reverses before it closes isn’t necessarily a sensor problem. In Gresham, it’s just as often a track warped by seasonal moisture that’s tripping the opener’s resistance limit. Replacing the photo-eyes first is the most common and most expensive diagnostic mistake we see. The parts are fine; the door is binding. This guide teaches you to read the three symptoms a failing door gives you – noise, movement, and failure pattern – and trace each one to the mechanical category it actually belongs to. You’ll learn which adjustments are safe to make yourself, which ones need a technician, and how to document a fault so a repair visit takes twenty minutes instead of an hour.
Quick Answer
Most garage door problems in Gresham fall into one of four categories: spring and cable failure, track and roller misalignment, opener logic or force-limit faults, and seal or weather-related binding. To tell them apart, pull the manual release and operate the door by hand – a door that moves easily points to the opener, and a door that binds or won’t stay up points to the door itself. Only three adjustments are safe for a homeowner: travel limits, force settings, and photo-eye alignment. Anything involving springs, cables, or the torsion assembly needs a trained technician.
Styles & brands we work with
- Raised-panel steel
- Carriage house
- Modern flush
- Full-view glass
- LiftMaster openers
- Chamberlain openers
Table of Contents
- The Four Mechanical Categories Every Garage Door Fault Falls Into
- The Manual Disconnect Test: Separating Opener Faults From Door Faults
- What Slow Close, Hard Stop, and Reversal Each Tell You
- How Gresham’s Wet Winters Affect Seals, Tracks, and Springs
- The Three Things You Can Safely Adjust Yourself
- What Requires a Technician: Springs, Cables, and Torsion Assemblies
- How to Document Symptoms So a Repair Call Takes 20 Minutes
- Why Brand Matters: Reading Your Opener and Door Correctly
The Four Mechanical Categories Every Garage Door Fault Falls Into
Before you touch a single bolt, sort the symptom into a category. This is the step that eliminates most of the guesswork, and it’s the first thing we do on any call in Gresham.
Category one: spring and cable failure. The door is heavy, won’t stay open, or makes a sharp bang. Cables may be slack or off the drum. This is the most dangerous category and the one you never diagnose by hand-testing tension.
Category two: track and roller misalignment. The door drags, scrapes, or binds at a specific point in its travel. You may see a bent track section or a roller popped out of its channel. This category often mimics a spring failure because the door feels heavy – but the weight comes from friction, not lost lift.
Category three: opener logic and force-limit faults. The motor runs but the door doesn’t move correctly, or it moves and then reverses. The remote stops working. The wall button behaves differently from the remote. These are electronic and setup problems, not mechanical ones.
Category four: seal and weather-related binding. The door closes but leaves a gap, sticks to the floor, or strains in cold weather. The bottom seal is cracked or flattened. This category is the most common in Gresham’s wet climate and the one most often misdiagnosed as something bigger.
Once you know the category, the brand of system narrows the answer further. A LiftMaster opener with a force-limit fault behaves differently from a Craftsman unit with the same symptom, and the fix differs too. That’s why brand knowledge matters more than a generic checklist.
The Manual Disconnect Test: Separating Opener Faults From Door Faults
Most troubleshooting guides skip this step entirely, and it’s the one that saves the most money. The manual disconnect isolates the door from the opener so you can test each half separately.
- Close the door fully and confirm the opener has stopped.
- Pull the red manual release handle hanging from the opener trolley. You’ll hear the trolley disengage from the door arm.
- Lift the door by hand to about waist height and let go. A healthy door with intact springs should hold roughly where you left it, or rise gently.
- Push the door down and lift it again, feeling for binding. It should move smoothly the whole way, with no scrape, catch, or sudden resistance.
- Reconnect the trolley by running the opener until it clicks back into the arm, or by following the reconnect step in your opener manual.
Here’s how to read the result. If the door is heavy, drops on its own, or won’t stay up, you’re in category one or two – the door itself. If the door moves easily by hand but the opener still struggles, reverses, or stops short, the fault is in category three, the opener. That single test tells you which half of the system needs attention before anyone arrives.
For a LiftMaster or Chamberlain unit, the disconnect also tells you whether the problem is the logic board, the travel limits, or the drive mechanism. For a Wayne Dalton door, it tells you whether the door’s own torsion or extension system is the source. One test, two answers. Run it before you call for garage door repair.
What Slow Close, Hard Stop, and Reversal Each Tell You
The way a door fails is a diagnostic clue. Three failure patterns point to three different components, and knowing which is which keeps you from replacing the wrong part.
Slow close
A door that closes gradually and struggles near the floor is usually fighting resistance. That resistance comes from a binding track, a worn roller, or a bottom seal dragging on the concrete. The opener is fine; it’s working harder than it should. Left alone, the extra strain wears the opener’s gear and motor over time. The fix is usually mechanical: align the track, replace the rollers, or replace the seal.
Hard stop
A door that slams down or stops abruptly, with a jolt rather than a slowdown, points to a travel-limit setting that’s too far, or a force setting that’s too high. It can also mean a broken spring that’s letting the door fall under its own weight on the way down while the opener pushes it up with too much force. A hard stop on a LiftMaster or Genie opener is often a limit-switch calibration issue you can adjust yourself – but check the springs first.
Reversal
A door that starts to close and then reverses is the most misdiagnosed symptom of the three. It could be a photo-eye misalignment, and that’s the first thing most homeowners check. But it could just as easily be a force-limit trip caused by a track that’s warped from moisture, a door that’s binding on one side, or a seal that’s gripping the floor. A Raynor door on a wet Gresham slab can bind enough to trigger the resistance limit even when the sensors are perfectly aligned. Replacing the sensors doesn’t fix a binding door.
If you can unplug or bypass nothing and the reversal only happens at one point in the travel, suspect a mechanical cause, not the sensors. If it reverses at random points regardless of door position, suspect the photo-eyes or the opener’s logic board.
How Gresham’s Wet Winters Affect Seals, Tracks, and Springs
Gresham gets real rain, and the garage sits right at the edge of it. That has three predictable consequences for a door, and each one creates a symptom that looks like something else.
The bottom seal rots and flattens. A rubber seal that’s exposed to constant moisture and freeze-thaw cycles cracks, hardens, and loses its shape. A flattened seal leaves a gap at the floor. A hardened one drags and grabs. That drag raises the force the opener needs, which trips the resistance limit, which looks exactly like a reversal problem. Homeowners replace sensors when the actual fix is a bottom seal.
Tracks warp and rust at the anchor points. Moisture gets into the track channels and the mounting hardware, and seasonal temperature swings move the metal. A track that’s off by a quarter inch can bind a roller through part of the travel. In Gresham, this often shows up first on doors facing the prevailing weather, where the track takes more direct exposure.
Springs and cables wear faster in damp air. Steel under constant tension doesn’t love moisture. Cables can corrode, and springs can lose tension unevenly. You may notice a door that starts fine in summer and strains in winter, which is a sign the spring system is losing lift and the opener is compensating.
The good news is that most of these are routine maintenance issues, not replacement triggers. A new bottom seal, a track realignment, and a roller swap handle the bulk of Gresham’s weather-driven faults. The key is reading the symptom correctly first. If you’re not sure, our team handles garage door opener repair and mechanical door work under one call, so the diagnosis covers both halves of the system.
The Three Things You Can Safely Adjust Yourself
Not everything needs a technician. Three adjustments are safe for a homeowner with a ladder, a screwdriver, and the opener manual in hand. Do these with the door closed and the opener unplugged where the manual says to.
- Travel limits. Every opener has up and down limit settings that tell the motor where to stop. If the door stops short of the floor or hits the header on the way up, the limit is off. The adjustment screws are on the opener housing, and the manual for your unit tells you which way to turn them.
- Force settings. The force setting controls how hard the opener pushes before it gives up and reverses. If your door reverses on a perfectly clear, unobstructed track, the force setting may be too low. Raise it in small increments and test the door – if it still reverses, stop adjusting and look for a mechanical cause.
- Photo-eye alignment. The two sensors at the bottom of the track need to see each other. Check that the small LED on each unit is lit and steady, not blinking. If one is dark or blinking, clean the lens and gently nudge the bracket until both lights are solid. This is the only electrical adjustment most homeowners should touch.
That’s the list. Three adjustments, all reversible, none of which puts your hands near stored energy. Anything beyond these – anything you’d need to reach above the door, remove a bracket, or put a tool on a spring – belongs to a technician. A Craftsman or Genie opener with a travel-limit problem is a fifteen-minute fix once you know the setting; a torsion spring under tension is a different matter entirely.
What Requires a Technician: Springs, Cables, and Torsion Assemblies
We’re going to be direct here, because this is the part where DIY injuries happen. The torsion spring and the cables that run with it store an enormous amount of energy, and they can release it instantly. A garage door spring can be under several hundred pounds of tension when the door is closed. Winding or unwinding one with the wrong tools, at the wrong angle, or without securing the door first can cause serious injury.
Do not attempt to:
- Loosen, tighten, remove, or replace a torsion spring
- Adjust the winding cones on a torsion tube
- Remove or reattach a cable with the door under spring tension
- Replace a cable drum or rewind a cable that’s come off the drum
- Drill into or modify the torsion assembly or its mounting
What you can do: notice the symptom and stop. A door that won’t stay up, drops when you let go, or makes a sharp bang is telling you a spring has failed. A cable hanging slack or off its drum is telling you the same. Close the door if you can do so safely, keep people and pets clear, and call a technician. Our technicians have up to 12 years of experience with spring and cable work, and the parts involved are specific to your door’s weight and system.
This applies across every brand we work on, from a Wayne Dalton extension-spring door to a Raynor torsion system. The mechanism differs, the danger doesn’t. Call (866) 890-0843 and we’ll talk through what you’re seeing. We answer 24/7. Fast dispatch from 7am to 7pm, Sunday through Friday.
How to Document Symptoms So a Repair Call Takes 20 Minutes
A good repair call starts with a good description. When a technician knows exactly what the door does and when, the visit shortens from an hour of diagnosis to twenty minutes of repair. Here’s how to capture what matters.
- Record a short video of the failure. Film the door from the side, not the front. You want to see the door’s movement and hear the noise. Capture one full cycle: opening, stopping, closing, stopping. If it reverses, film that too.
- Note the cycle count if your opener tracks it. A door that’s been cycled thousands of times is due for spring and roller service regardless of how it’s behaving. If your opener doesn’t track cycles, a rough estimate of daily opens is enough.
- Locate the direction of the noise. Is the bang or scrape coming from the left side, the right side, the header, or the floor? Noise tells a technician where to look first.
- Write down what changed and when. Did it start after a cold snap, after a power outage, after someone backed into the door? The trigger narrows the cause.
- List the adjustments you’ve already tried. If you raised the force setting or nudged a sensor, say so. It saves the technician from repeating a step, and it prevents a minor fix from masking a bigger one.
Pair the video with your door and opener brand. A description of a LiftMaster reversing at the floor on a Clopay panel door gives a technician more to work with than “my door won’t close.” That’s the difference between a call and a conversation about a repair.
Why Brand Matters: Reading Your Opener and Door Correctly
A garage door is two systems working together: the door itself and the opener. Most companies work on one or the other. We work on both, and that matters for diagnosis because the symptom often lives in one system while the cause lives in the other.
The door side: Clopay, Amarr, Wayne Dalton, and Raynor each build their panels, tracks, and spring systems differently. A Wayne Dalton door with an extension-spring setup behaves differently from a Raynor torsion door when a spring fails. The weight, the balance point, and the hardware are specific to the manufacturer, and the fix follows the system you actually have.
The opener side: LiftMaster, Chamberlain, Genie, and Craftsman each have their own logic boards, force settings, and diagnostic codes. A Genie that reverses at the floor is a different troubleshooting path than a Chamberlain doing the same thing. Reading a flashing light on a Craftsman opener means something different than the same flash on a LiftMaster. A technician who knows the brand reads the fault instead of running blind.
That’s why we diagnose by the system, not a checklist. If you’re in Gresham and your opener is a brand the big-box installer sold you, that’s fine. We work on what you have, whether it’s contractor-grade or consumer-grade. One call covers the door and the opener, so you’re not handed off between companies when the fault sits between the two systems. That’s the core of how Sycamore Garage Door Repair approaches a call.
Common Mistakes to Avoid
- Replacing the photo-eyes when the door is binding. A reversal that happens only at one point in the travel is a mechanical fault, not a sensor fault. Check the manual disconnect test before you buy new sensors.
- Turning up the force setting to fix a heavy door. If the springs are tired or a track is binding, raising the force just makes the opener push harder against a problem that’s getting worse. Fix the resistance, not the symptom.
- Ignoring a bottom seal that’s leaving a gap. In Gresham’s wet climate, a failed seal lets moisture and cold air in, and the hardened rubber raises the load the opener carries. It’s a cheap fix that prevents bigger ones.
- Winding a torsion spring yourself. This is the mistake that sends people to the emergency room. The stored energy in a torsion assembly is not a homeowner job, no matter how many videos you watch.
- Calling about a “broken opener” without running the disconnect test. Half the openers we look at in Gresham are fine; the door is the problem. The test takes two minutes and saves the diagnostic guesswork.
- Waiting until the door fully fails. A door that’s straining, scraping, or reversing is giving you notice. Address the symptom while the repair is small.
- Assuming a brand mismatch means you need a new system. If your door is a Wayne Dalton and your opener is a LiftMaster, that’s a normal pairing. It doesn’t mean either part is wrong for the house.
See the difference
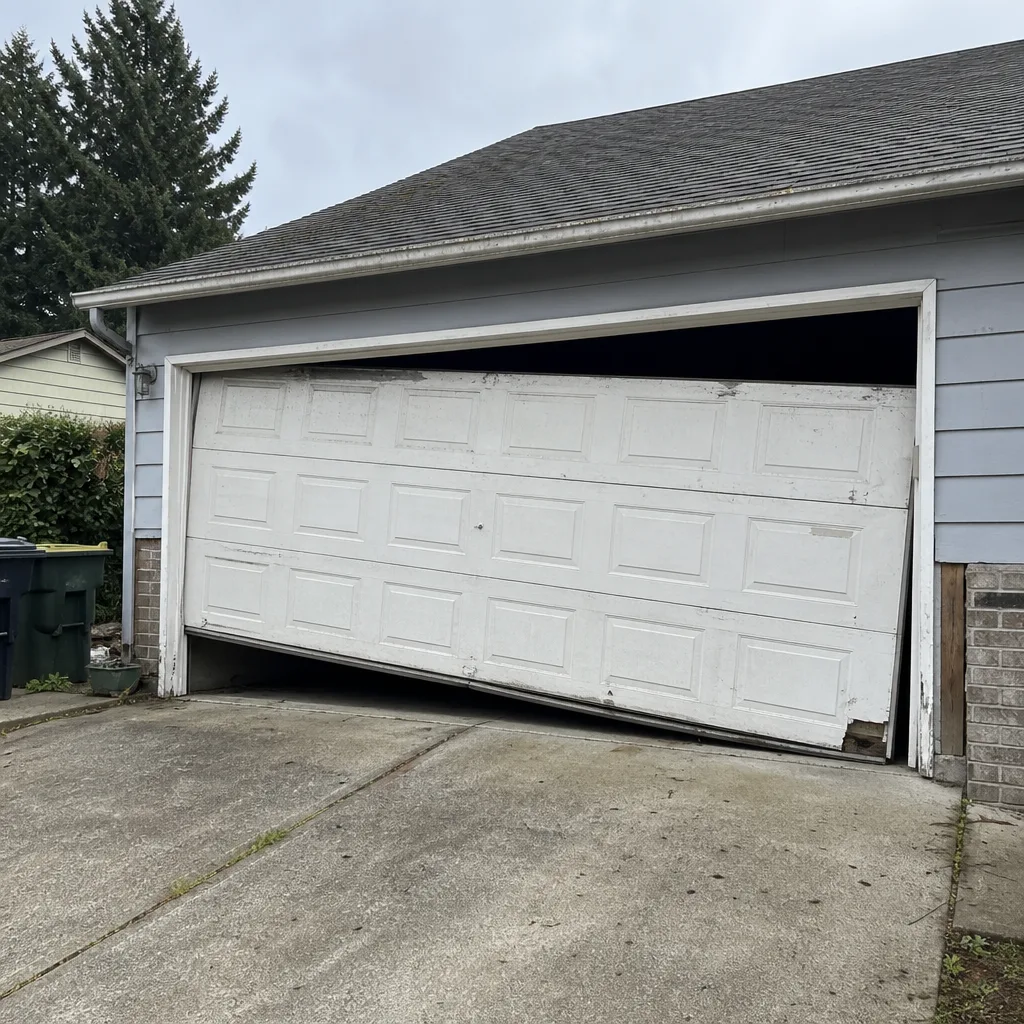 Before
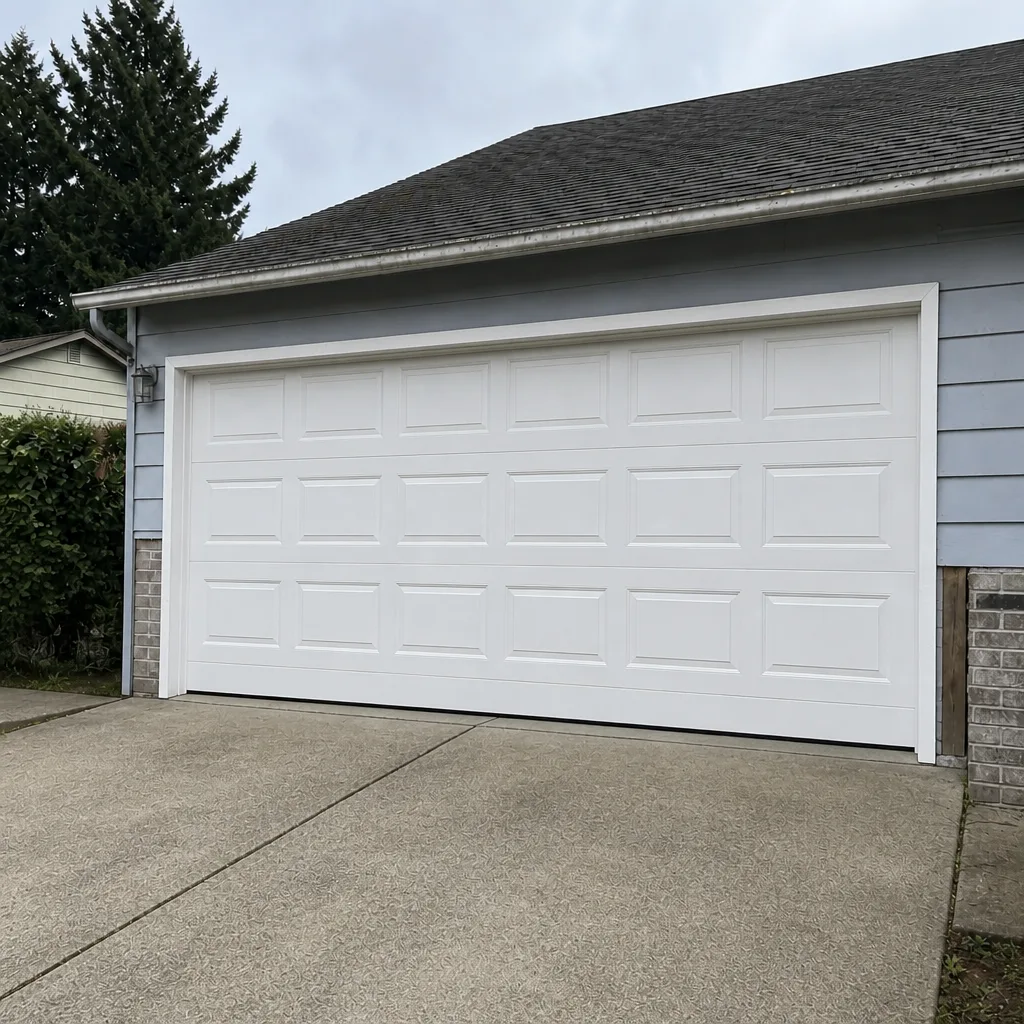 After
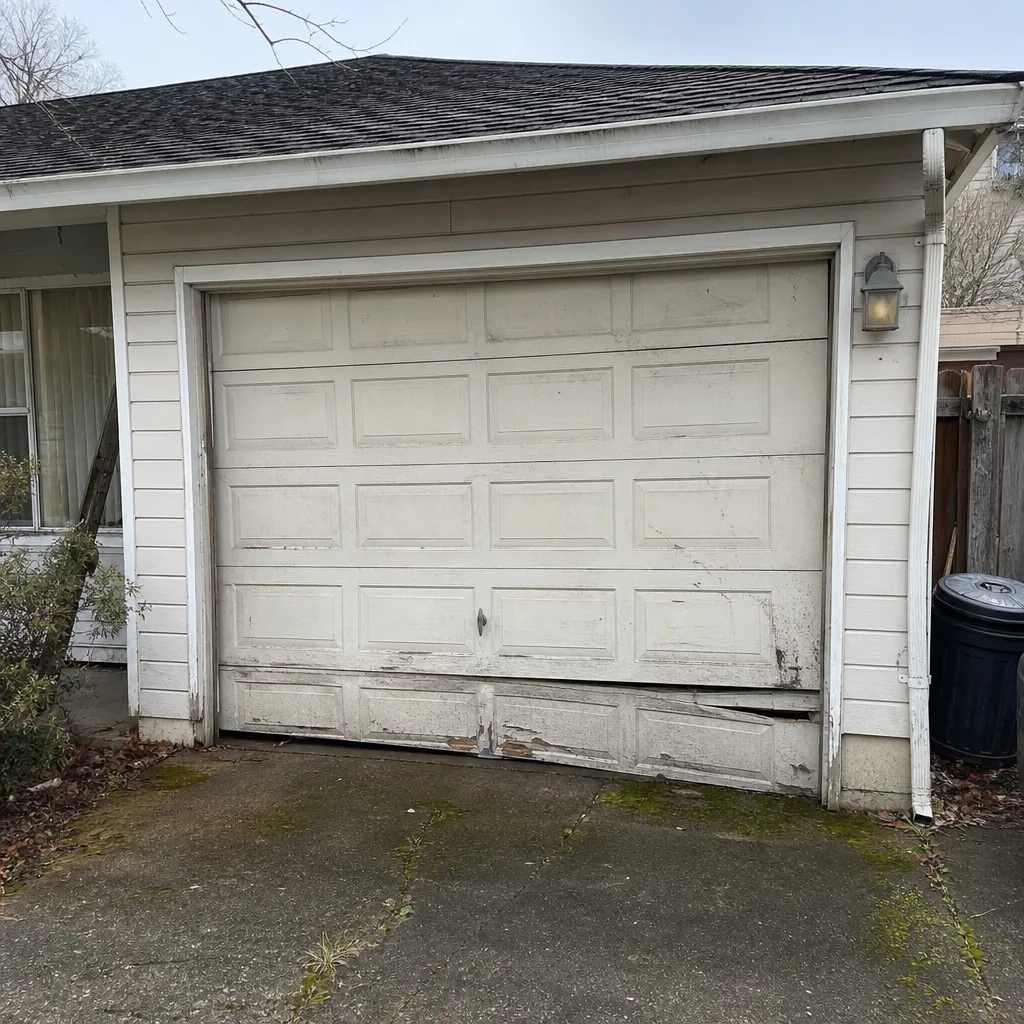 Before
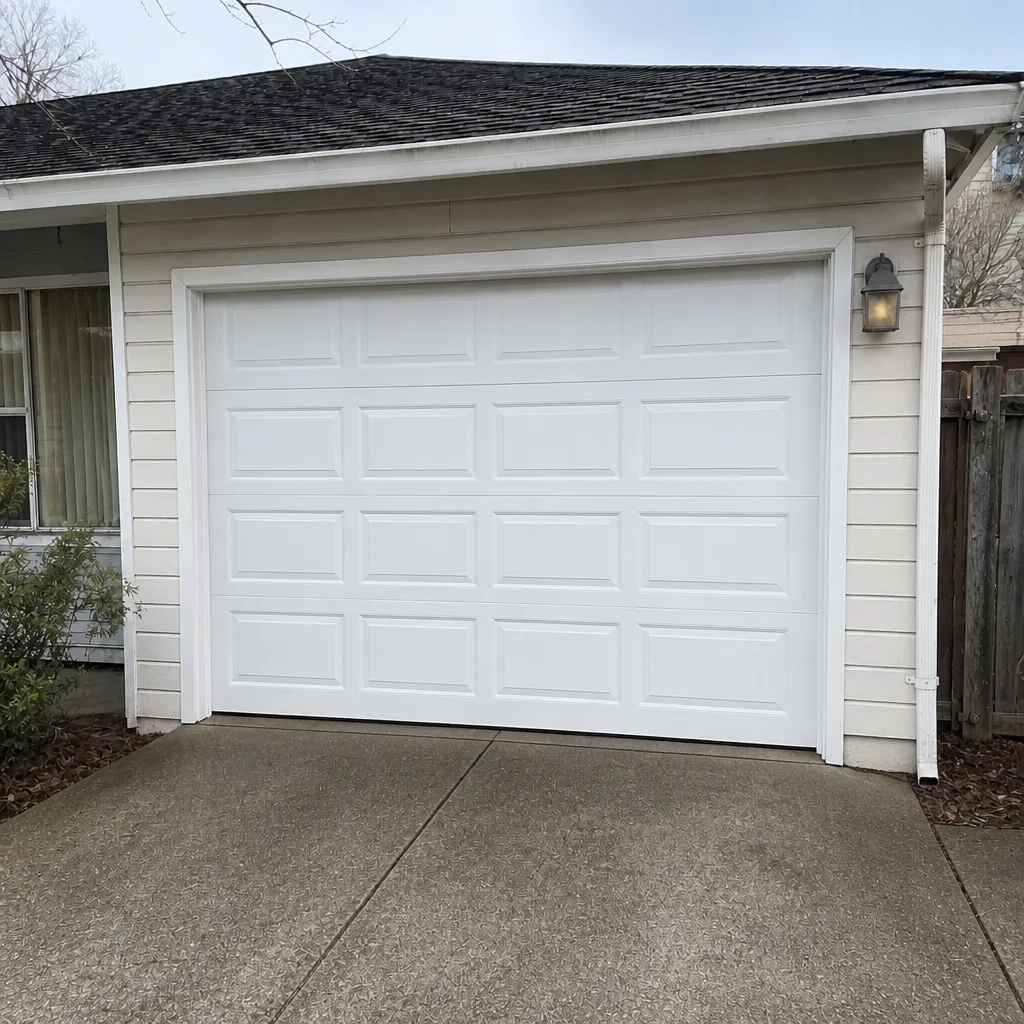 After
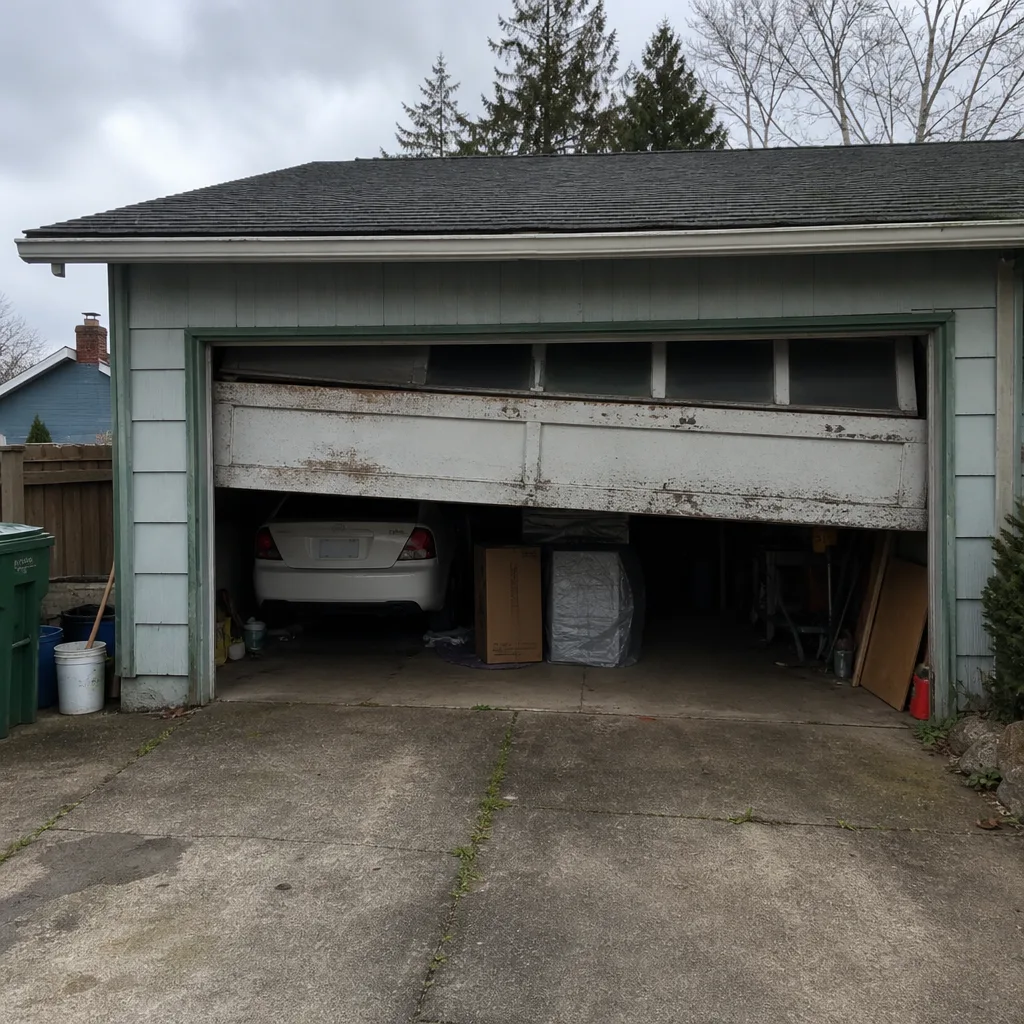 Before
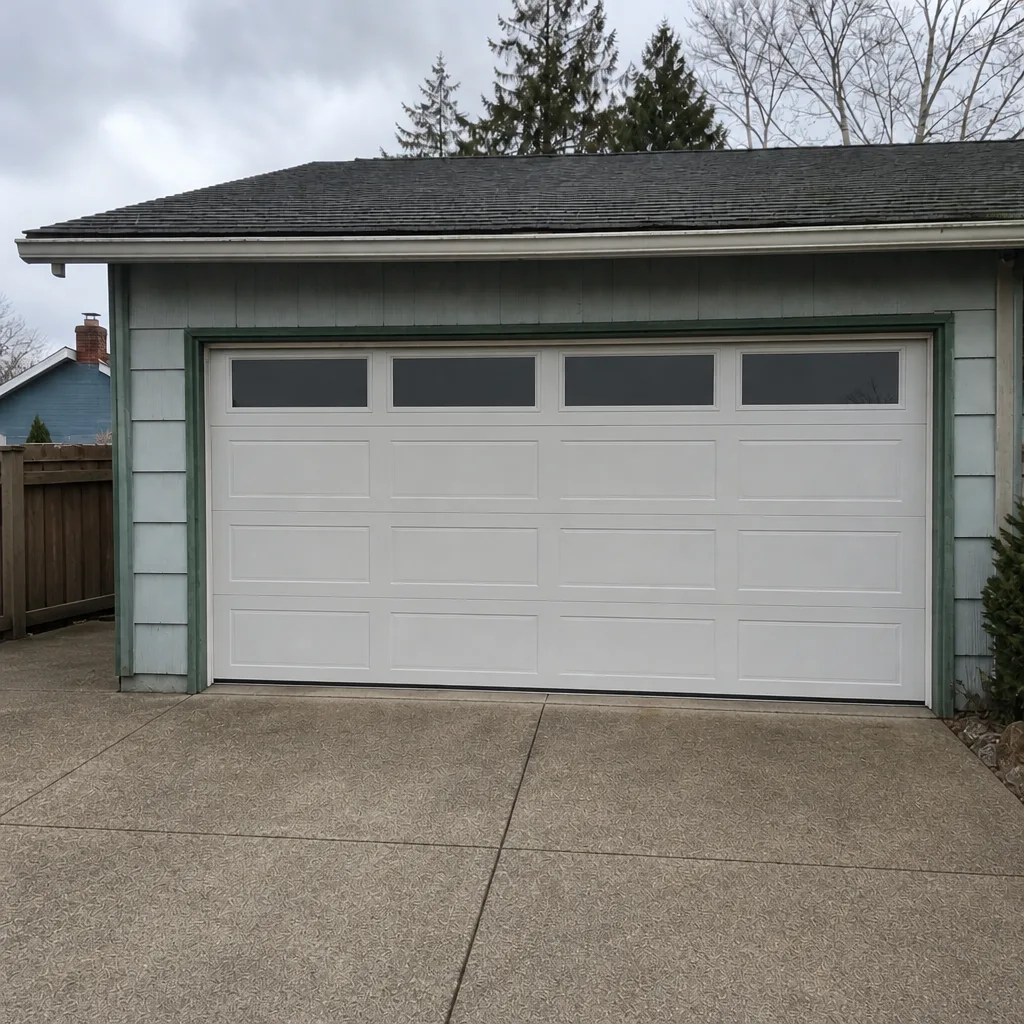 After
When to Call a Professional
Call a technician when the manual disconnect tells you the door is heavy, drops on its own, or won’t stay up. Call when you see a spring that’s broken, a cable that’s slack or off its drum, or hear a sharp bang from the torsion assembly. Call when the door binds at a specific point in its travel and no amount of adjustment clears it. Call when the opener reverses on a clear, unbound track after you’ve checked the sensors and the force setting. And call when a door that used to work fine has started leaving a gap at the floor that a new seal doesn’t fix. Sycamore Garage Door Repair offers free estimates in Gresham – call (866) 890-0843. The written estimate sets the price, and the price is agreed before any work starts.
Frequently Asked Questions
Most routine garage door repairs in Gresham fall in a range that depends on the part involved and the system you have, and the written estimate sets the final price. Spring and cable work, track realignment, roller replacement, and opener repairs each carry their own estimate, and you’ll know the number before anyone starts. Call (866) 890-0843 for an exact quote – estimates are free.
We dispatch same-day in most cases. We answer 24/7 and dispatch from 7am to 7pm, Sunday through Friday. A call outside dispatch hours is booked into the next opening, Sunday through Friday, 7am to 7pm. Call (866) 890-0843 to check availability.
No. The price is quoted and agreed before any work starts, and the written estimate sets the final number. If the diagnosis turns up something the estimate didn’t cover, we tell you before we touch it. Call (866) 890-0843 for a free estimate.
Yes, our technicians are licensed and insured. They have up to 12 years of experience with both door and opener systems, and they work on the brands already in your garage, including LiftMaster, Chamberlain, Genie, Clopay, Amarr, Wayne Dalton, Craftsman, and Raynor. Call (866) 890-0843 with any questions.
It’s usually a binding door tripping the opener’s resistance limit, not a failed sensor. In Gresham, a track warped by moisture or a bottom seal gripping the floor can trip the limit on a door whose photo-eyes are perfectly aligned. Run the manual disconnect test first: if the door binds by hand, the fault is mechanical. Call (866) 890-0843 if you’re not sure what you’re feeling.
Run the manual disconnect test, check that both photo-eye LEDs are solid, check the force and travel-limit settings against your manual, and record a short video of the door’s movement and noise. If the door is heavy by hand, stop there and call. Call (866) 890-0843. We answer 24/7. Fast dispatch from 7am to 7pm.
Yes. We work on what you have, including LiftMaster, Chamberlain, Genie, Clopay, Amarr, Wayne Dalton, Craftsman, and Raynor, whether the hardware is contractor-grade or consumer-grade. If your door and opener are different brands, that’s normal and doesn’t change the repair. Call (866) 890-0843 to describe your system.
Only the three adjustments we listed: travel limits, force settings, and photo-eye alignment. Springs, cables, and torsion assemblies carry stored energy and require a trained technician. If you can see a broken spring or a cable off its drum, close the door if it’s safe and call (866) 890-0843.
The Bottom Line
Most garage door failures in Gresham fall into four categories: spring and cable failure, track and roller misalignment, opener logic faults, and weather-driven seal binding. The manual disconnect test tells you which half of the system owns the problem. Slow close points to resistance, hard stop points to travel limits or force settings, and reversal points to either sensors or a binding door. You can safely adjust travel limits, force settings, and photo-eye alignment. Springs and cables belong to a technician. Document the symptom with a video and the noise direction, and the repair gets faster. We work on what you have, and one call covers the door and the opener.
Contact
If your door is straining, reversing, or leaving a gap you can’t close, call Sycamore Garage Door Repair at (866) 890-0843 for a free estimate. We answer 24/7. Fast dispatch from 7am to 7pm, Sunday through Friday. The price is quoted and agreed before any work starts, and the written estimate sets the final number. Garage doors are all we do.
Written by the team at Sycamore Garage Door Repair.