
Last updated November 16, 2026
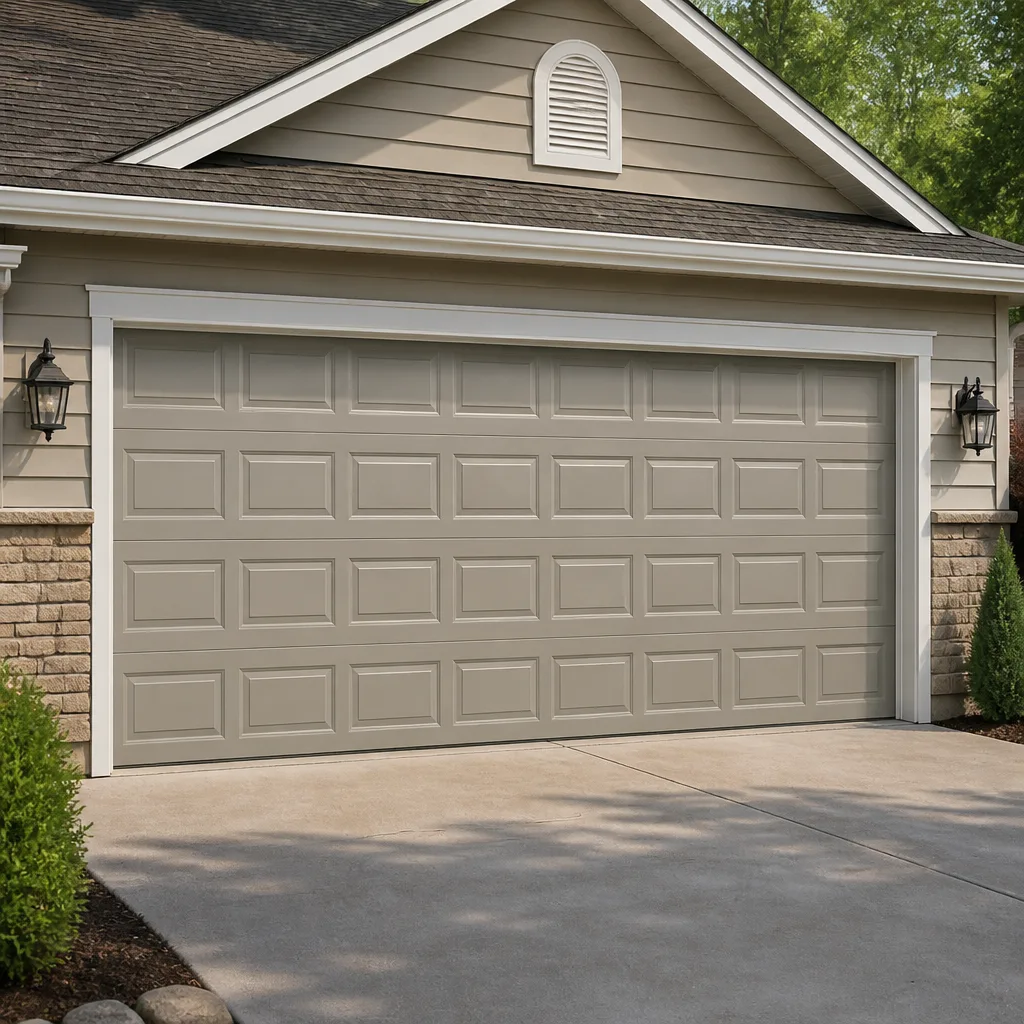 Raised-panel steel
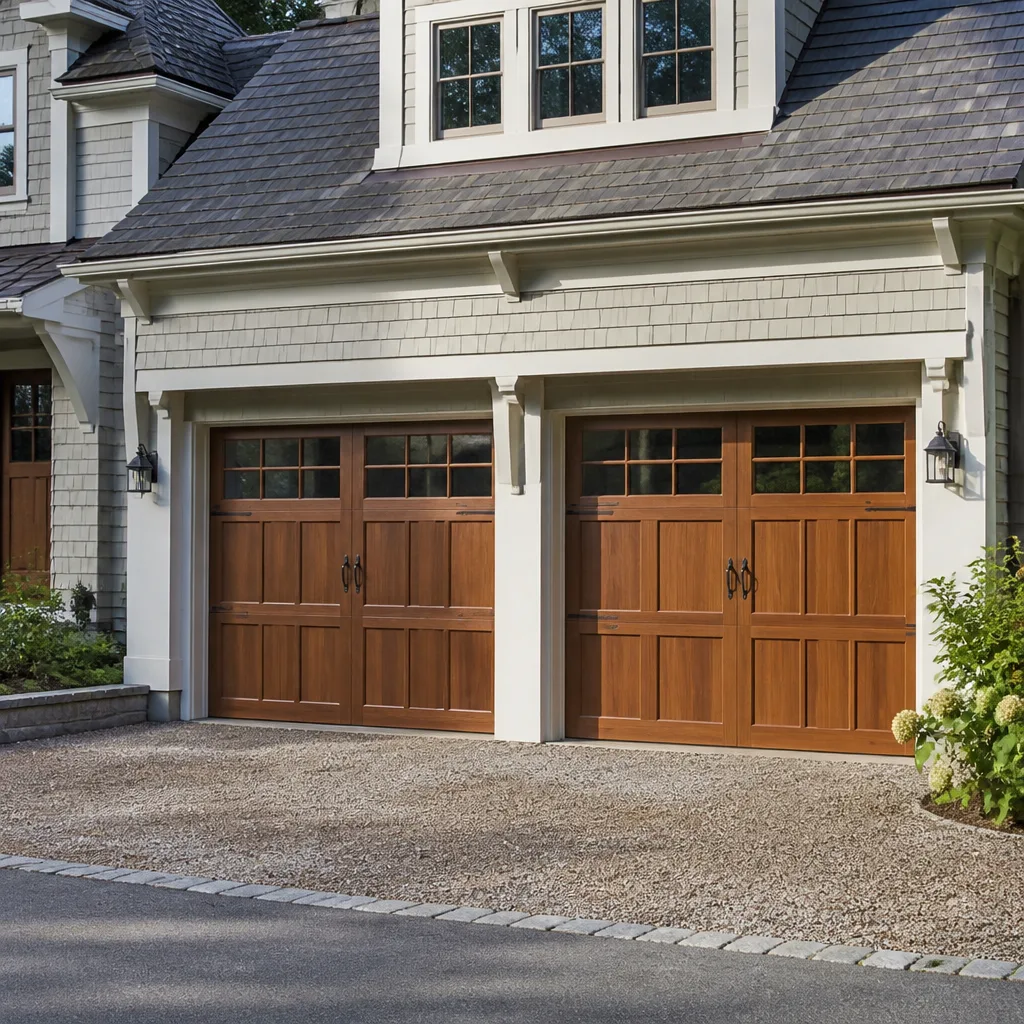 Carriage house
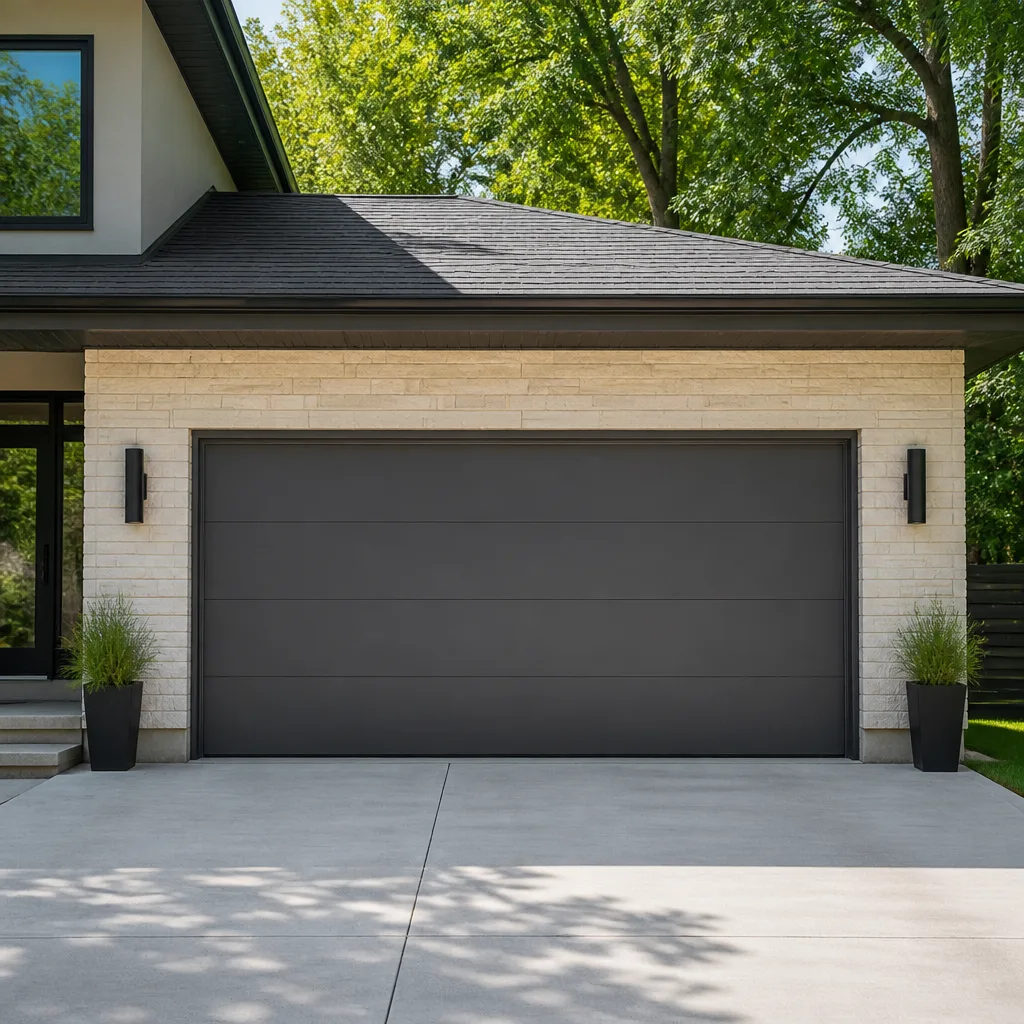 Modern flush
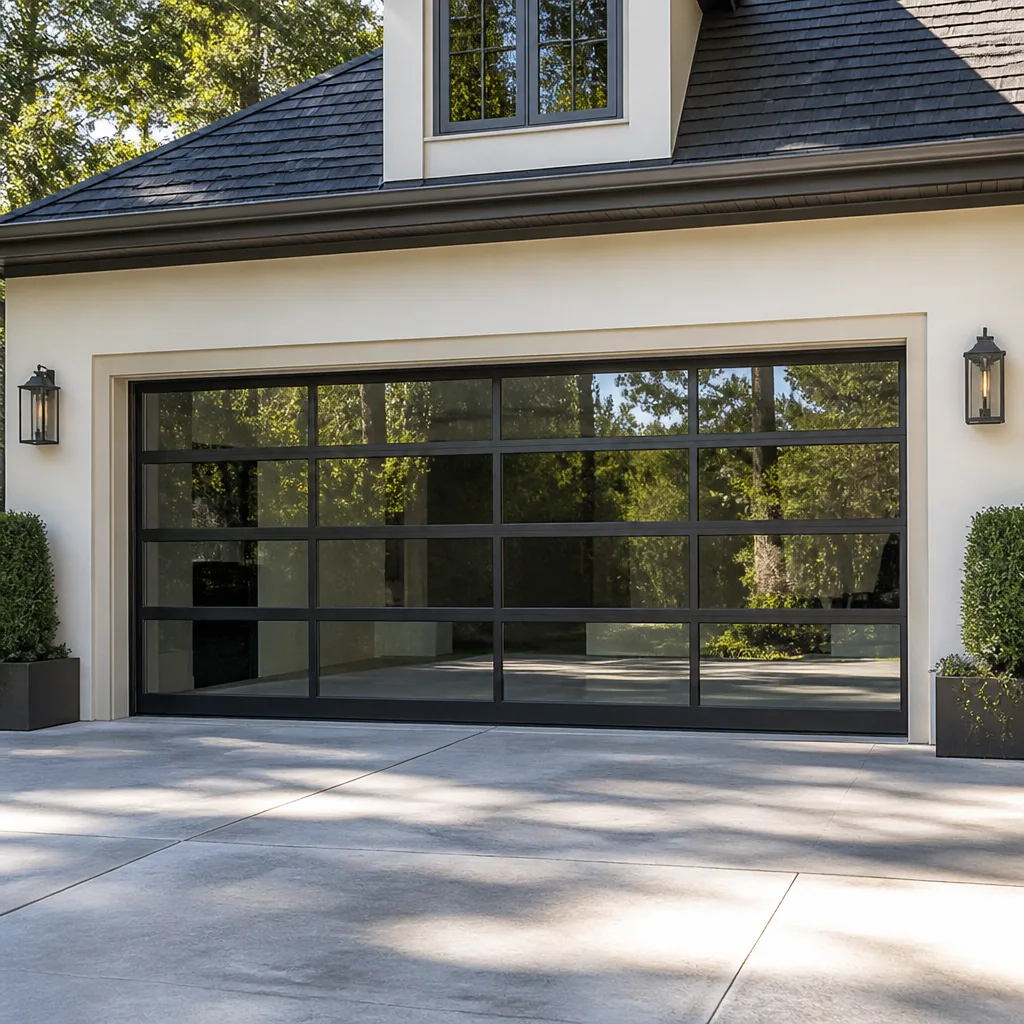 Full-view glass
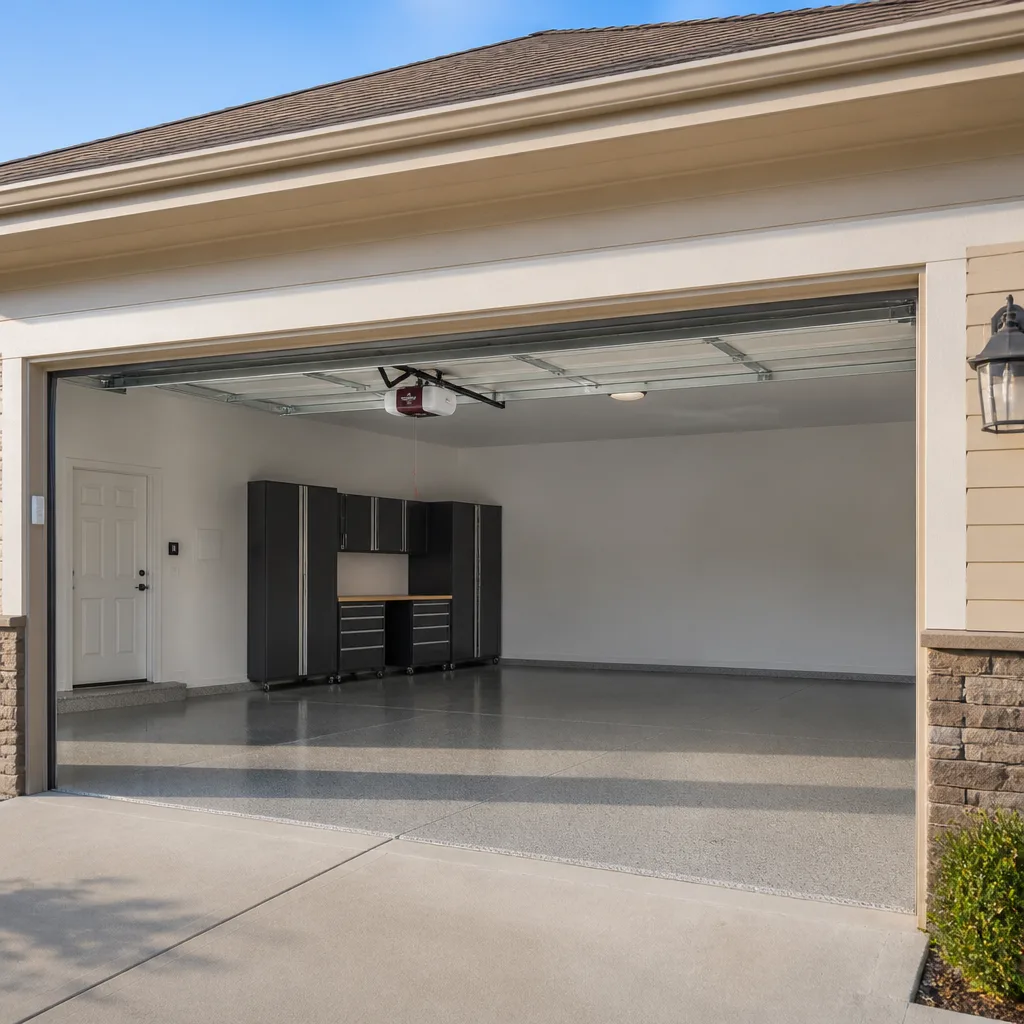 LiftMaster openers
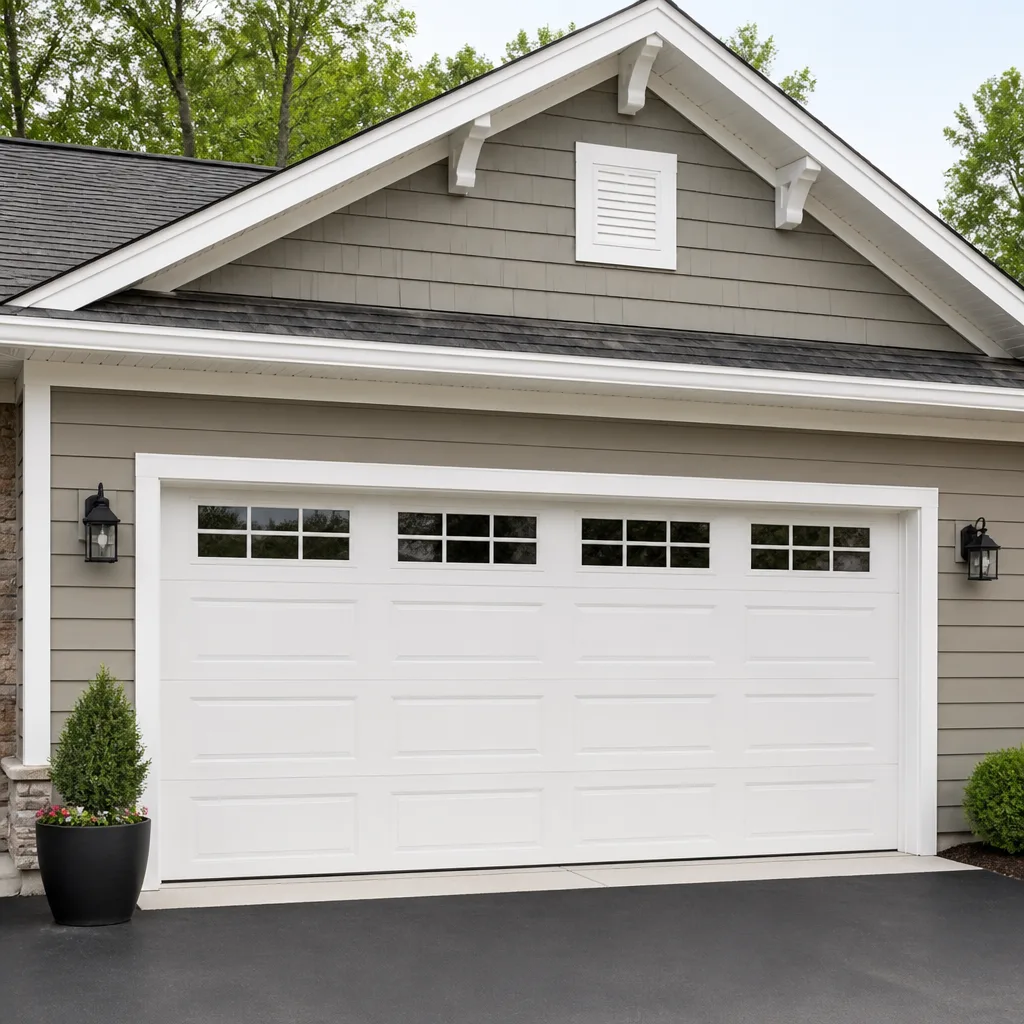 Chamberlain openers
Full 25-point door and opener safety check with every visit - springs, cables, rollers, tracks, and your LiftMaster or Chamberlain opener included
You get a price before we start. It does not change when the pro arrives.
Get your free estimateGarage Door Repair Maintenance Checklist for Gresham Homeowners
Most DIY maintenance checklists tell you to lubricate your rollers. Almost none tell you that applying lubricant to a roller that’s already cracked from cold exposure just delays the failure long enough to strand your car inside.
That’s the problem with generic checklists: they treat maintenance as a flat list of tasks instead of what it actually is – a diagnostic sequence. Order matters. In Gresham, it matters more than usual, because moisture damage and spring tension problems have a habit of masking each other. A stiff door that won’t close might look like a lubrication issue when it’s actually a torsion spring losing tension. Lubricate the wrong part first and you’ve spent an hour solving nothing.
This guide walks you through the checks in the order that actually works, with the local conditions that make each one relevant here. You’ll learn which components to inspect before you touch a can of lubricant, what to use where, and how to tell the difference between maintenance you can handle and a repair that needs a trained technician.
Quick Answer
A proper garage door maintenance checklist for Gresham homeowners starts with balance and spring tension checks, then moves to weather-seal and rust inspection, then lubrication of the correct components, and finishes with a safety-reverse test on the opener. Check the door first, then the opener – never lubricate before you know whether the springs and balance are sound, because a door that’s out of balance will keep failing no matter how well you grease it.
Styles & brands we work with
- Raised-panel steel
- Carriage house
- Modern flush
- Full-view glass
- LiftMaster openers
- Chamberlain openers
Table of Contents
- Why the Order of Your Inspection Matters in Gresham
- Step 1: Test Balance and Spring Tension First
- Step 2: Check for Moisture Damage After Rainy Season
- Step 3: Inspect the Torsion Bar and Track for Rust
- Step 4: Lubricate the Right Parts With the Right Product
- Step 5: Test the Auto-Reverse Safety Function
- Opener-Specific Checks Most Homeowners Miss
- Common Mistakes to Avoid
- When to Call a Professional
Why the Order of Your Inspection Matters in Gresham
Gresham sits in a climate that cycles between wet and dry repeatedly through the year. That pattern is hard on garage doors. It speeds up seal degradation, accelerates surface rust on bare steel, and makes wooden or composite panels swell and shrink in ways that gradually throw a door out of alignment.
The problem is that these climate-driven issues produce symptoms that look like something else. A door that shudders or reverses partway down could be:
- A torsion spring that’s lost a fraction of its tension
- A track that’s out of plumb from the frame shifting in wet soil
- A bottom seal that’s swollen and catching the threshold
- A roller that’s cracked and binding in the channel
- An opener safety sensor that’s been bumped out of alignment
If you start with lubrication, you’re treating call number four before you’ve ruled out numbers one through three. That’s how homeowners end up paying for a repair they didn’t need while the real problem goes untouched. The sequence in this guide moves from the most structurally significant checks down to the routine ones, so each step narrows down the actual cause.
There’s a second reason order matters. A spring under tension is dangerous. If you’re going to inspect the hardware at all, you need to do it while the door is in a stable, predictable state – and that means confirming balance first, not after you’ve been poking around the rollers.
Step 1: Test Balance and Spring Tension First
Balance testing tells you whether your springs are doing their job. A properly balanced door will stay put at roughly the halfway point when you disengage the opener and move it by hand. If the door slams down or rises on its own, the springs are either too weak, too strong, or one of a matched pair has failed.
Here’s how to run the test safely:
- Close the door all the way and pull the emergency release cord to disengage the opener. The door should now move freely on its tracks.
- Raise the door by hand to roughly waist height and let go. It should stay exactly where you left it, or drift less than a few inches.
- Raise it to the midpoint, about three feet off the ground, and release again. Same result – hold steady, no creeping.
- Lower it halfway and release. It should remain stable in this position too.
- Reengage the opener by running it until it reconnects the carriage.
If your door fails any part of this test, stop. Don’t lubricate anything yet. A door that won’t hold position means the springs need attention, and spring work is one of the few jobs that should never be DIY. Torsion springs and their cables are under extreme tension, and a release under load can cause serious injury. We work on springs every week, and we still treat them with respect.
One Gresham-specific note: if your door hangs differently after a long wet stretch than it did in summer, that can indicate the wood jamb has shifted, not that the springs have changed. A technician can tell the difference in minutes.
Step 2: Check for Moisture Damage After Rainy Season
The bottom seal is the most weather-exposed component on any garage door in Gresham. It sits against the ground, in the splash zone from every wet driveway, and it takes the impact of every close. After a wet stretch, it’s the first thing to inspect.
Run your hand along the inside of the bottom seal with the door fully closed. What you’re feeling for:
- Hardness or cracking. A seal that has gone stiff won’t compress to form a tight fit, which lets water creep under during rain.
- Flattening. A seal that’s crushed flat has lost its rebound and won’t seal even if it looks intact.
- Splitting at the fold. The fold line takes the most flex and usually fails there first.
- Gaps at the threshold. Shine a flashlight from inside at night – any light visible under the door means water can get in.
- Visible moss or algae. That’s a sign of persistent moisture trapping against the door frame.
While you’re down there, look at the track channel where the bottom of the door runs. Check for debris, standing water, or papery deposits that indicate water has been pooling. A track that holds water will rust from the inside out, and once the profile distorts, the door will bind every time it closes.
Gresham’s spring rains and the runoff pattern from surrounding neighborhoods can dump a lot of water through a garage threshold over a season. If your seal is beyond replacing, do that before winter. It’s an inexpensive part and one of the few you can usually swap without help.
Step 3: Inspect the Torsion Bar and Track for Rust
Rust on the torsion bar is the quiet problem. It builds slowly, then one day your door grinds going up and you assume the opener is failing. In our experience, more residential torsion bar complaints in Gresham trace back to surface rust than to actual spring failure.
Here’s what to look at:
- Torsion bar. Open the door and look at the steel bar that runs horizontally above the door. Any orange-brown discoloration along its length is a sign of surface oxidation. Left alone, it roughens the bearing surface and accelerates wear on the drums.
- Bearing plates. The plates that hold the torsion bar at each end should turn freely. Grinding or a squeal when the door runs points to a bearing that’s worn or rusted.
- Track channels. Look along the inside of each vertical and horizontal track. Rust streaks mean moisture has been sitting in the channel. A heavily pitted track needs replacement, not just cleaning.
- Hinges and rollers. These are typically the first parts to show rust because they’re thin steel. Hinge rust usually shows up at the seam where the two plates meet.
- Framing contact points. Where the track bolts into the jamb, look for streaking or water staining. That tells you moisture is wicking from the structure into the hardware.
Light surface rust can be cleaned and treated with a proper rust-preventive lubricant – we’ll cover which one below. Deeper rust that has pitted the metal or distorted the profile needs a replacement part. A torsion bar with rust pitting on the bearing surface should be checked by a technician before it starts eating the drums.
Step 4: Lubricate the Right Parts With the Right Product
Now you lubricate. And what you use on each component matters more than whether you use anything at all.
Rollers, hinges, bearings and the torsion spring itself want a spray lubricant designed for hinges, like a silicone or white lithium type product. Track channels do not get lubricated – they should be cleaned only, because grease in a track attracts dirt that grinds the rollers. Weather seals should get a silicone spray that keeps rubber supple, not a petroleum-based product that breaks it down.
WD-40 deserves its own paragraph. The standard WD-40 formula is a water-displacer and light solvent, not a lubricant. Spraying it on your door’s nuts, bolts, springs and bearings dissolves the factory lubricant that’s already there and leaves the metal drier than it started. Use it to break a stuck fastener loose if you need to, then clean it off and apply a proper lubricant. Never use it as your routine door treatment.
If any roller is cracked, chipped, or has a flat spot, replace it – don’t grease it. A cracked nylon roller that gets a shot of lubricant will still be cracked tomorrow. It’ll just fail more quietly, usually while you’re backing out of the driveway.
A quick pass with the right lubricant on the moving metal parts every few months is all a residential Sycamore Garage Door Repair system needs in normal use. If a door from LiftMaster, Chamberlain, Clopay or Amarr has been neglected for years, one thorough lubrication after a professional inspection usually restores smooth operation. Our technicians have up to 12 years of experience working across those brands and the rest of the eight major manufacturers we service.
Step 5: Test the Auto-Reverse Safety Function
The auto-reverse safety system is what stops the door from crushing something underneath. Most homeowners never test it. It fails silently, and there’s no warning sign before the day you need it.
Two separate systems need testing:
- Mechanical reverse. Place a 2×4 flat on the ground in the center of the door’s path. Close the door with the opener. When the door contacts the board, it should reverse direction and return to open. If it stops but doesn’t reverse, or keeps bearing down on the board, the system needs adjustment.
- Photoelectric sensor test. With the door open and the opener active, wave your hand or a long object across the sensor beam at the bottom of the tracks. The door should refuse to close. If the door closes anyway, either the sensors are misaligned, wired incorrectly, or failing.
Do both tests once a month if you have anyone – kids, pets, elderly relatives – walking through the garage. Do it every time you notice the door behaving differently. And do it any time you’ve moved or bumped the sensor brackets, which is common when garage floors get cleared out.
The most common cause of a failing sensor test is a misaligned bracket – the sensor doesn’t aim at its partner anymore. Small LED lights on the sensors will tell you whether they’re receiving a signal. If both sit solid, the alignment is likely fine. If one flickers, it’s not.
Opener-Specific Checks Most Homeowners Miss
Most checklists treat the door and opener as a single unit. They aren’t. The opener is an electronic system with its own wear points, and they fail in ways the door never will.
Here’s what to check on the opener side separately:
- Force settings. Most openers have adjustment dials or digital settings for how much force the opener applies. If your door is suddenly slow or reverses without a clear obstacle, the force setting may be over-tight. With the door disconnected, run the opener and see if it operates smoothly on its own. If it does, the door is the problem, not the opener.
- Limit switches. These set how far the door travels on open and close. If your door is stopping an inch short or slamming down, the limits need adjustment. Not a hard job, but easy to get wrong if you don’t know what the opener’s manual says.
- Chain or belt tension. Belt-drive openers should run quiet. Chain-drive models should have a little sag, usually around a half inch. Too tight and you’ll wear the motor bearings; too loose and the chain slaps.
- Travel speed. If an opener that used to close smoothly in a few seconds is now creeping on part of the run, the issue is usually the drive system, not the door.
- Remote and keypad reliability. Weak or intermittent response often signals the battery in the remote or a failing logic board. Test both remotes and the wall switch to isolate the issue.
- Wi-Fi and app connectivity. Smart openers from LiftMaster, Chamberlain and Genie can drop connection after router changes or power interruptions. A reprogramming is generally a phone call away.
Running these checks alongside your door checks gives you a full picture. If the door passes its balance test but the opener is straining, you’re looking at an opener problem. If the opener runs fine disconnected but drags when connected to the door, the door is the culprit. Distinguishing the two saves an unnecessary service call – and when you do need one, garage door opener repair covers the electronics side separately from the door mechanics.
Common Mistakes to Avoid
- Lubricating before checking balance. If the springs are weak, fresh grease just makes the door glide out of alignment faster. Test balance first, then lubricate only if the system is sound.
- Spraying standard WD-40 on the springs and hinges. It displaces the lubricant that’s already there and leaves metal exposed. Use an actual lubricant on moving parts, and keep WD-40 for unsticking fasteners.
- Greasing the tracks. This is the single most common mistake we see. Grease in a track collects grit and grinds the rollers down faster than running them dry ever would.
- Skipping the monthly sensor test. Auto-reverse fails silently, so a passing test today says nothing about next month. Check it on a schedule.
- Ignoring a slightly bent track. In Gresham, wet-season soil movement can shift a jamb enough to throw a track slightly out of plumb. Bent tracks don’t self-correct; they wear rollers and force the opener to work harder.
- Replacing the opener when the door is the problem. If a door is dragging or reversing, it’s often the door mechanics, not the motor. Diagnose the door first.
- Overlooking the bottom seal until winter. A hard, split seal lets water under the door all rainy season. Replacing it in fall is a fraction of the cost of dealing with a wet garage floor and rusted track afterward.
See the difference
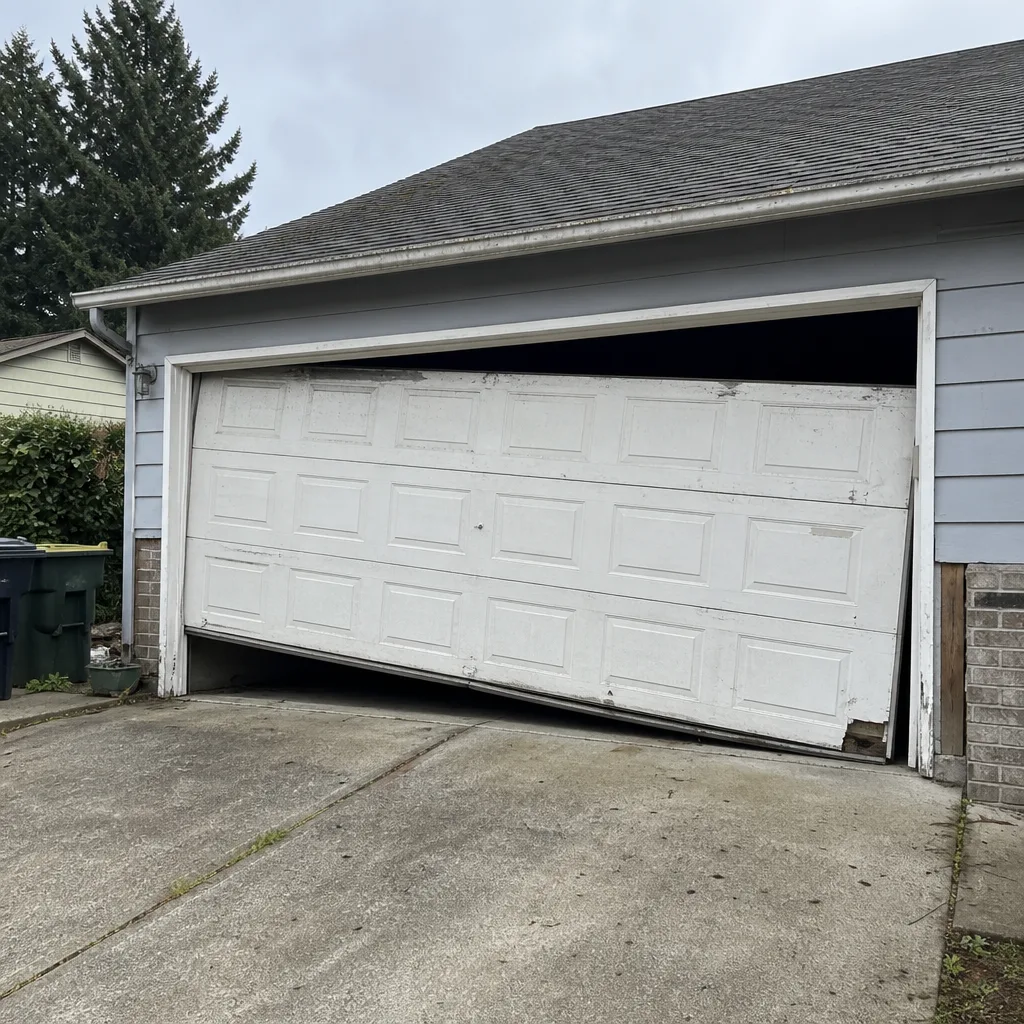 Before
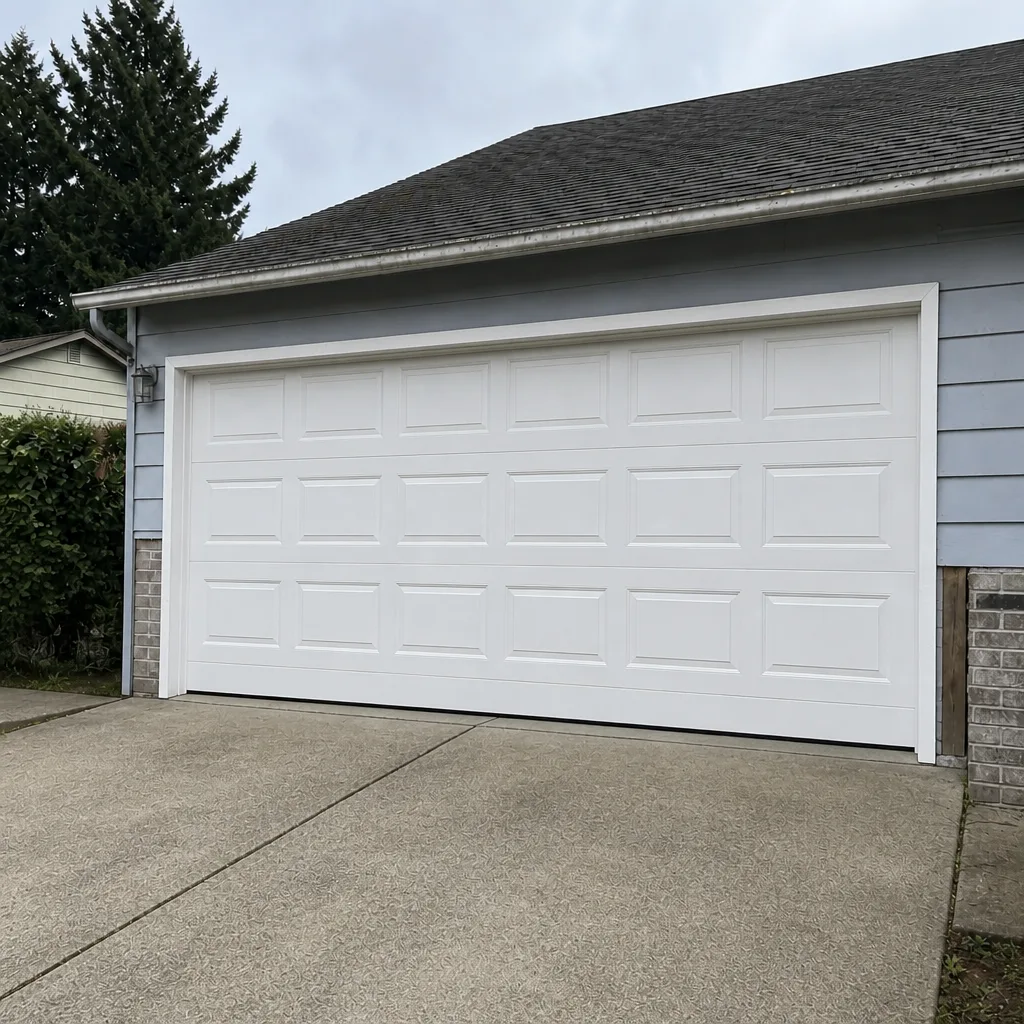 After
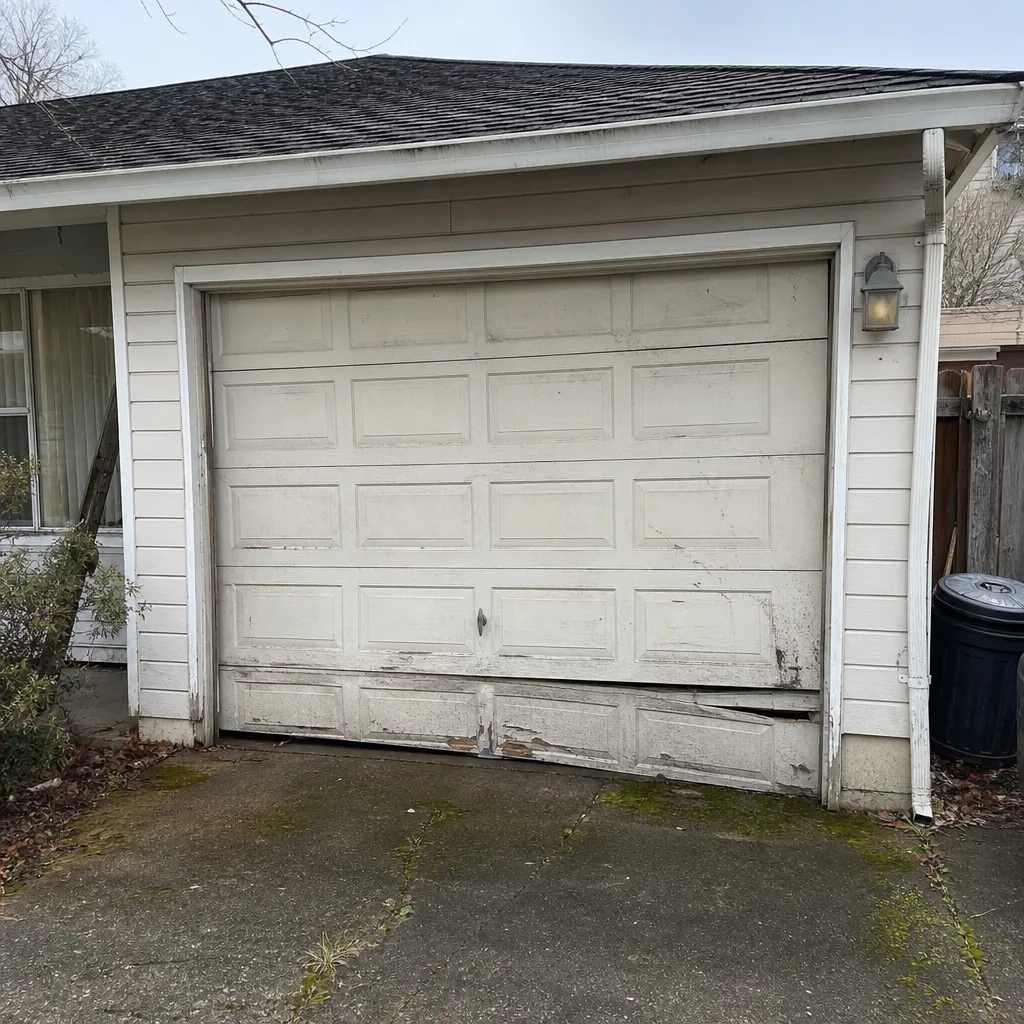 Before
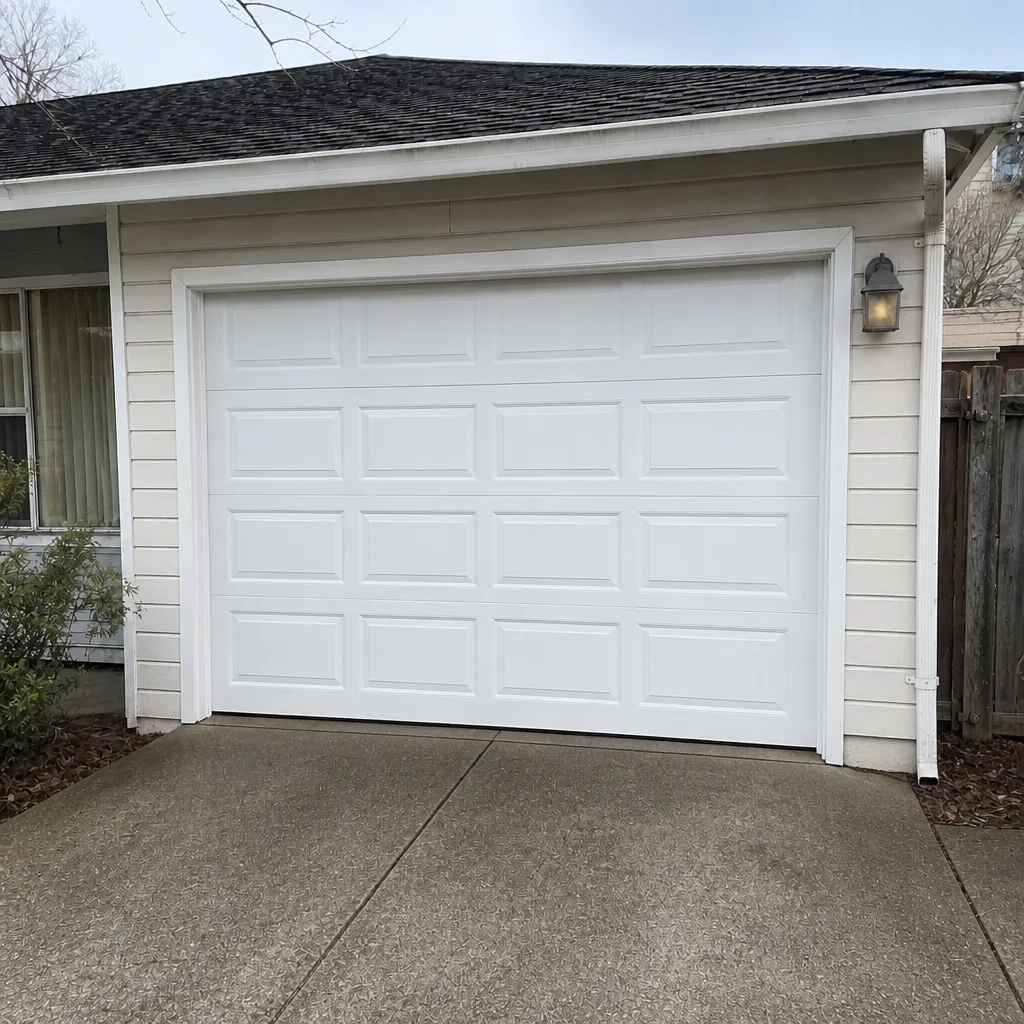 After
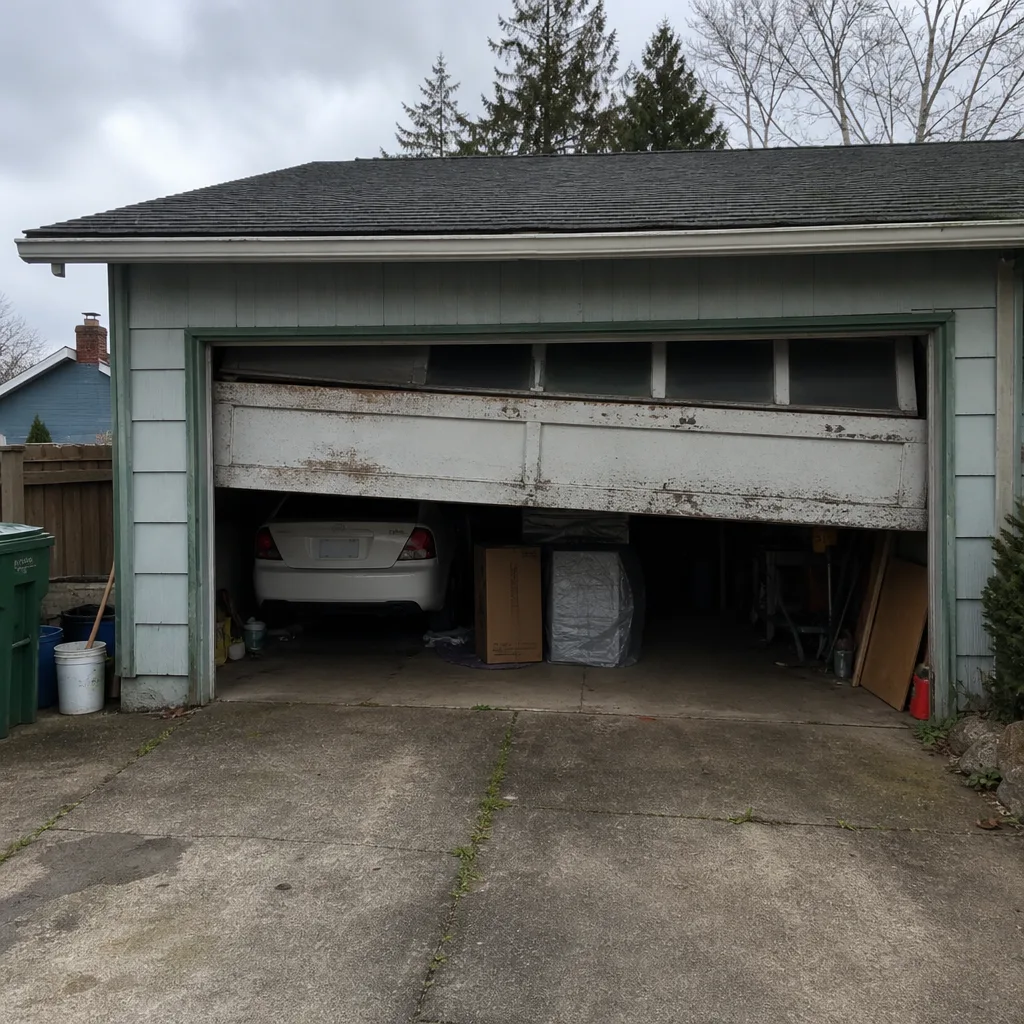 Before
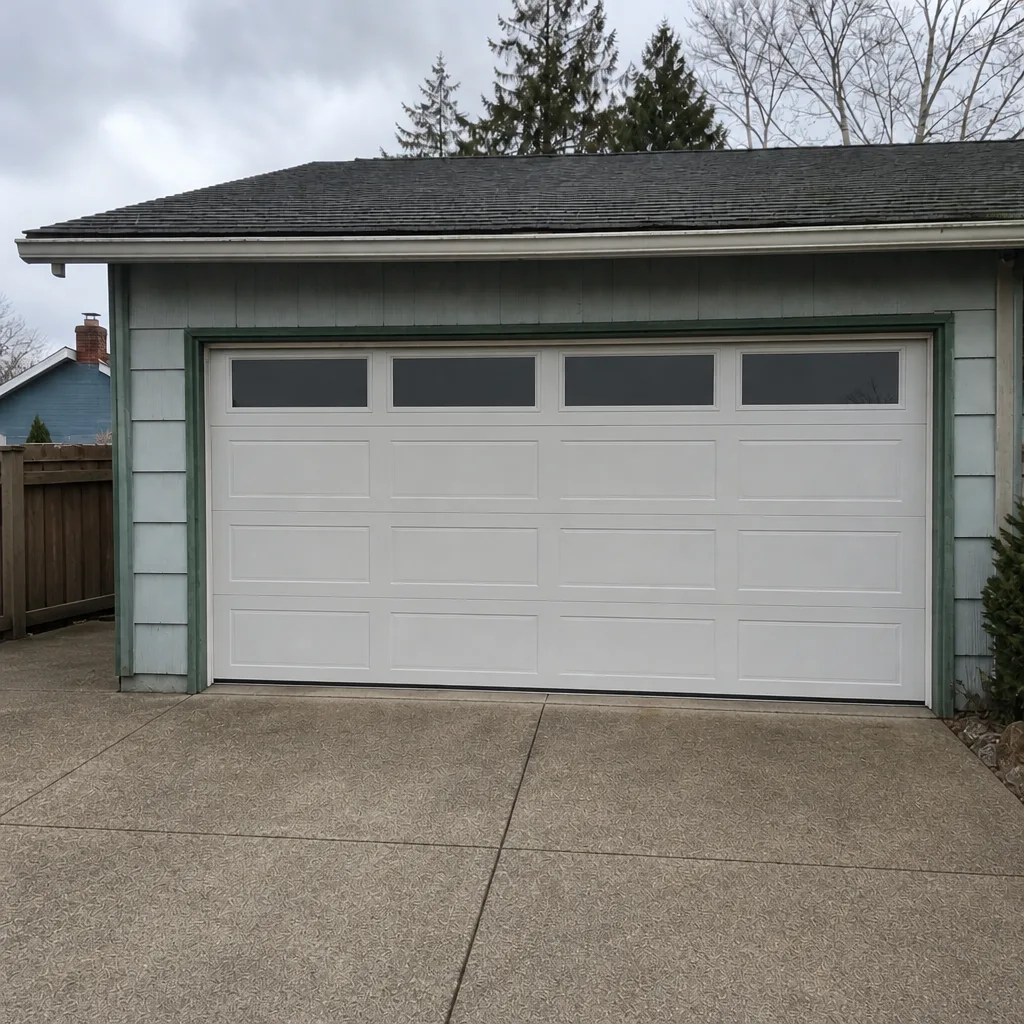 After
When to Call a Professional
Some checks belong in your hands. Others don’t. Call a technician if any of these are true:
- The door fails the balance test or won’t stay at the midpoint
- You see a broken torsion spring, a frayed or slack cable, or hear a loud snap
- The door reverses on its own and the sensor test doesn’t explain why
- The opener runs but the door doesn’t move evenly, or grinds loudly during part of the run
- A track is visibly bent, out of plumb, or pulling away from the jamb
- The auto-reverse system doesn’t pass the 2×4 test after you’ve checked the sensors
Spring work in particular isn’t a homeowner job. The torque stored in a torsion spring can cause serious injury if released incorrectly, and the parts are specific to the door’s weight, which most homeowners don’t have a way to verify. If you want a straight diagnosis of what’s actually wrong rather than a guess, Sycamore Garage Door Repair offers free estimates in Gresham – call (866) 890-0843. We answer 24/7. Fast dispatch from 7am to 7pm, Sunday through Friday.
Frequently Asked Questions
Do the full checklist twice a year, and the auto-reverse and visual checks monthly. In Gresham, add a quick bottom-seal and track inspection after each extended wet stretch, since moisture damage builds slowly and is much cheaper to catch early. Balance and safety tests take a few minutes and don’t need tools.
You can – and should – lubricate the rollers, hinges, bearings and spring with a proper spray lubricant. What you shouldn’t do yourself is work on the springs, cables, or drums, or attempt to adjust tension. Those parts are under load and need a trained technician. Call (866) 890-0843 for an exact quote if you’re not sure whether your door needs more than lubrication – estimates are free.
Use a spray lubricant in a silicone or white-lithium formula on moving metal parts, and a silicone spray on the bottom seal to keep the rubber supple. Never use petroleum-based oils on rubber seals, and don’t use standard WD-40 as your routine lubricant – it strips the protective coating that’s already there. For the track channels, clean only, no lubricant.
That’s almost always a safety-sensor alignment or door-travel problem. Test the photoelectric sensors first – if the small LED lights aren’t both solid, the sensors need realigning. If they’re solid but the door still reverses, the door itself may be binding, which trips the mechanical force limit. Call (866) 890-0843 to have it diagnosed properly rather than adjusting the force setting blind, which just masks the real issue.
Light surface rust is common in Gresham’s wet-dry cycle. Deep pitting or rust that’s creeping into the bearing surfaces is not normal and needs attention – it indicates water is getting somewhere it shouldn’t, usually through a failed bottom seal or a roof leak onto the bar. If rust is more than a light dusting, have it checked before the drums start to wear. A repair call for hardware that runs underneath the bar is garage door repair in its most straightforward form, and it’s usually quick to sort out.
Yes – our technicians are licensed and insured, and they work as part of a team of independent local professionals who share our commitment to garage door work specifically. We don’t do general handyman jobs. Garage doors are all we do, across eight major manufacturers – LiftMaster, Chamberlain, Genie, Clopay, Amarr, Wayne Dalton, Craftsman and Raynor – so a single call resolves the full problem whether it’s the door or the opener. Call (866) 890-0843 for a free estimate, and remember the price you agree to before work starts is the price. Sycamore Garage Door Repair is what you get when you want a straight answer about your own system.
The Bottom Line
A maintenance checklist is a diagnostic sequence, not a to-do list. In Gresham, that sequence starts with balance and spring tension because those are the checks that tell you whether the rest of the door is worth lubricating. Move to moisture and rust inspection next – the wet-dry cycles here make seal failure and track rust the fastest-moving problems. Only then do you lubricate, and only with the right product on the right parts. Test the auto-reverse system separately, every month. And treat the opener as its own mechanical system, not an extension of the door. Handle what you can safely. Call a technician for anything under spring tension or involving the safety system. That order alone will save you more money than any single component on the checklist.
Written by the team at Sycamore Garage Door Repair.